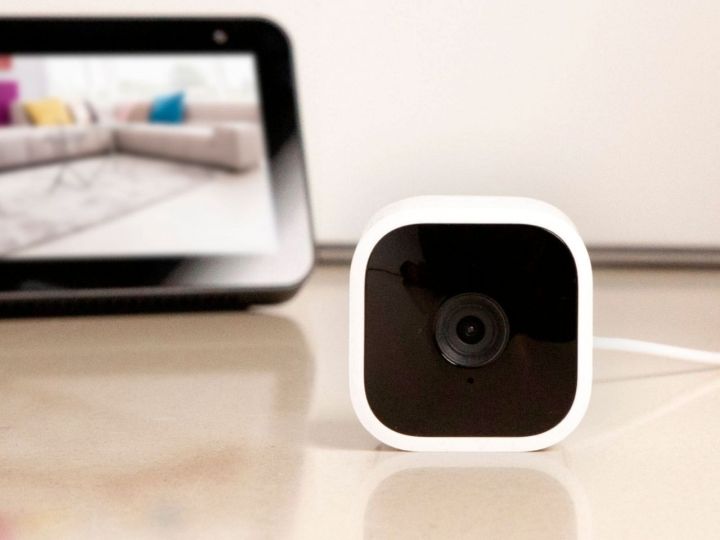
When it comes to video doorbells and security cameras, few companies are as well-known as Blink. Often carrying premium features and affordable price tags, products in its catalog are an easy recommendation for most smart homes. One of the best features of Blink products is the Live View option, which lets you peek in at a live feed of your property.
Trying to figure out how to use Live View on Blink cameras? Here’s everything you need to know about the cool feature.

Blink
How to use Live View on Blink cameras
To use Live View on Blink cameras, you’ll need to load up the Blink smartphone app. With that done, follow these easy steps.
Step 1: In the Blink app, look on the home screen for the small blue icon in the shape of a camera.
Step 2: Select this to launch Live View.
Step 3: Not all cameras support Live View. If you don’t see it on your screen, there’s a good chance it’s currently set to Event Response Mode. This occurs when certain cameras or doorbells aren’t connected to a Sync Module 2. Try connecting to the module (or compatible wiring for wired doorbells) to gain access to Live View.
Step 4: After using Live View for an extended amount of time, you might notice a small Continue button pop up on the screen. Select this to keep watching the live feed for up to five minutes.
Step 5: While in Live View, you can enable Two-Way Audio by pressing the small microphone icon at the bottom of the screen.
Step 6: To leave Live View, simply press the Close button (on iOS) or the Back button (on Android), both of which are located at the top of the screen.
Depending on your device and Blink subscription, there are plenty of other things you can do while in Live View mode. This includes recording clips, gaining access to Extended Live View, or zooming in on the footage. Be sure to check out the user manual for your specific model for detailed tips on what you can access.
Editors’ Recommendations

