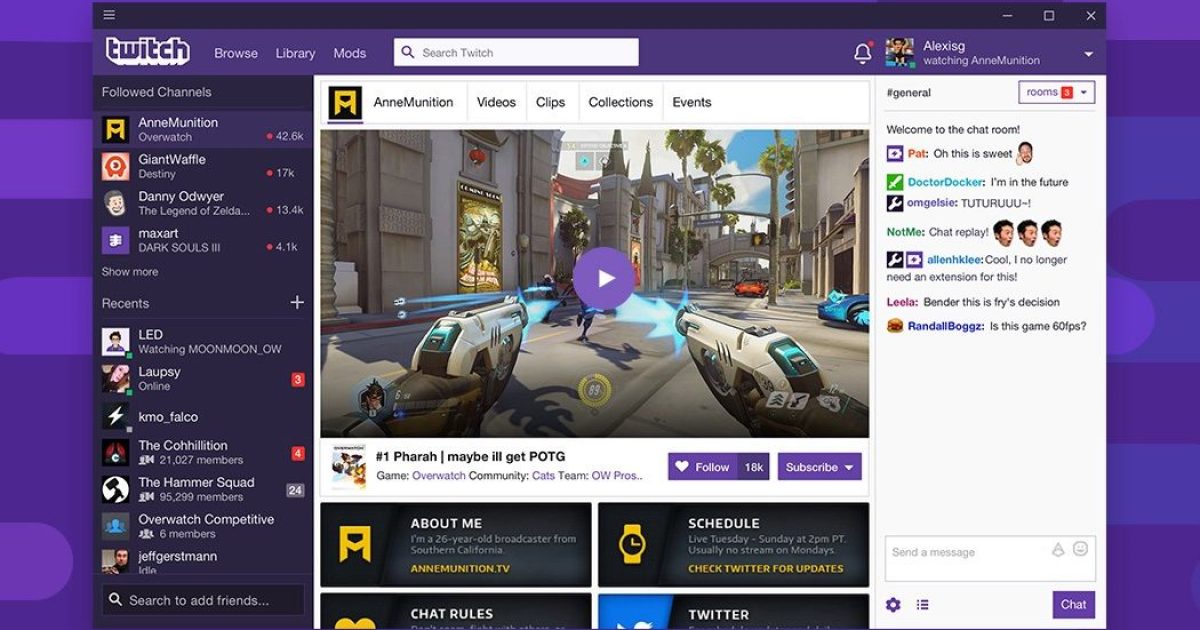
There comes a time in every online gamer’s life when one must move on from platforms once cherished. Beyond PlayStation Plus and Xbox Game Pass, one of the premiere gaming content meccas is Twitch. Built from the ground up to give players the world over a community forum to live-stream through, it’s the kind of content hub that’s great when you want it, but maybe one of the first things you want to walk away from when you’re taking a break from your PC and consoles.
In the event that you’d like to cancel your Twitch subscription, shutting your account down is a simple process. We’ve put together this guide to help, which also explores how to cancel your Twitch account through Twitch’s mobile app, and what to expect when canceling a Twitch Prime account.
Cancel your Twitch subscription on desktop
If you’re already on your desktop computer, canceling your subscription is a simple process. Here’s where to go.
Step 1: Head to the Subscriptions page on your Twitch account. If you don’t sign in automatically, you’ll have to input your Twitch username and password.
Step 2: Look for the Cog icon in the upper-right corner of the window. Select this to change how your subscription works.
Step 3: You will see options to change your subscription or change how you pay. But if you want to cancel entirely, select Don’t renew subscription.

Digital Trends
Step 4: Twitch will bring up a list of reasons to pick from to indicate why you are canceling. Select whichever you want, then select Don’t renew subscription again. Note the date at the bottom, which shows when you can once again subscribe if you change your mind.

Digital Trends
Step 5: Keep in mind, Twitch subscription lengths can vary. If you have your account set to renew every three months and you are only one month in, you’ll still have two months left before your subscription is canceled.
How to cancel Twitch on a mobile device
Subscriptions work a bit differently on mobile devices, but you can still quickly cancel them with the right approach. Here’s what to do.
Step 1: Open the Twitch app on your mobile device and log in if necessary. Once you are in, select your Profile picture in the upper-left corner.
Step 2: Select Subscriptions.

Digital Trends
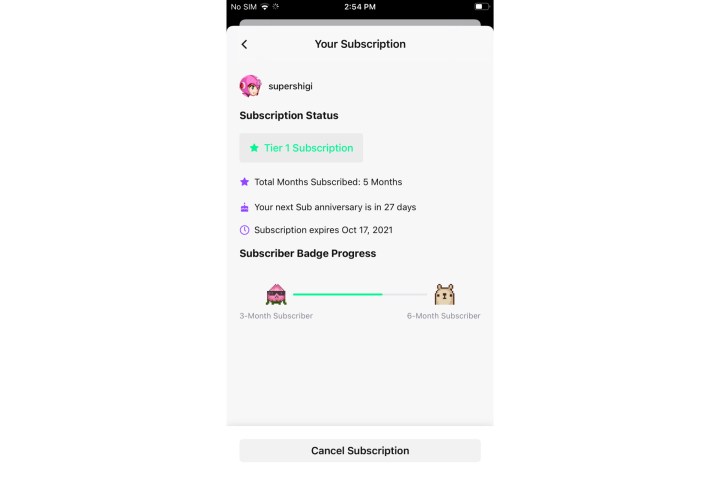
Step 3: Your new window will now show your active Twitch subscriptions. Select the subscription that you would like to cancel.

Digital Trends
Step 4: In the new window, you can check your subscription status. To end it, select the Cancel subscription button at the bottom, and confirm.

Electronic Arts
What happens when you cancel a Twitch Prime account?
Twitch Prime is available to Amazon Prime account holders, and is the evolved version of Twitch’s old Turbo service. Twitch Prime users have access to special features like custom emotes, sub badges, and ad-free viewing.
When you cancel a Twitch Prime account, all your perks and channel subscriptions will be erased.
To cancel through your Amazon account, head to your Amazon account page and click Your Account > Settings > Manage Prime Membership > Cancel the Twitch Prime Membership.
To cancel via Twitch, launch the Twitch site and click your profile icon. Next, click Settings > Connections. Then, click on the Disable button and click Confirm.
If you’re on a free trial of Twitch Prime, and don’t want to be billed for the service, you’ll want to terminate the service before your first official billing date.
Is deleting your Twitch account the same as disabling it?
Negative. If you’re deleting a Twitch account, this means all of your content and profile info, including things like highlights, user rewards, and stats. After 90 days, Twitch will permanently erase all of this data from its servers.
When you disable a Twitch account, the only thing you’re actually doing is putting a temporary block on your channel and content. The only thing you’ll have to do to re-activate is log back into your Twitch account.
With your subscriptions cancelled, why not consider becoming a streamer yourself? Here’s how to stream on Twitch.
Editors’ Recommendations

