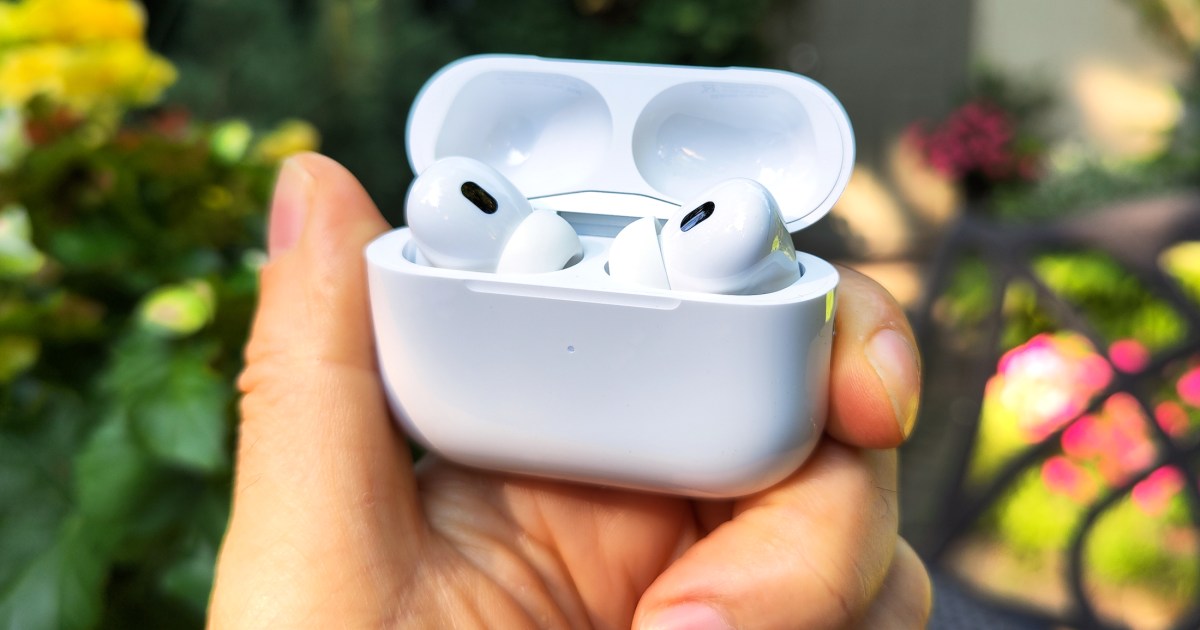
One of the best features of Apple AirPods is the ability to toss the buds inside the MagSafe charging case when the battery gets low. to charge things up. Thanks to Apple’s speedy charging rates, just five minutes inside the case will give you one hour of listening time (for the AirPods Pro). You’ll also be able to store up to 30 extra charge hours in a MagSafe case, compared to the five to six hours of battery the AirPods deliver when fully charged.
Like the AirPods themselves, the MagSafe case is going to run out of battery. When it does though, you’ll be able to recharge the case using either a Lightning USB cable, USB-C if you happen to get your hands on the newest AirPods Pro, or wireless charging (in some cases). Here’s how to charge your AirPods.
Simon Cohen / Digital Trends
Charging your AirPods with a wired power connection
If your AirPods model, such as first- and early second-generation versions, didn’t come with a wireless charging case (or you didn’t upgrade it), or if you’re not utilizing the wireless charging capabilities of later models, you’ll be using a cable connection to charge your AirPods or AirPods Pro case, which in turn charges the AirPods. Here’s how.
Step 1: Insert your AirPods into the charging case.
AirPods of all kinds come with a charging case, which stores and protect the earbuds while also charging up their batteries. Your first step should always be to place the AirPods back in their charge case.
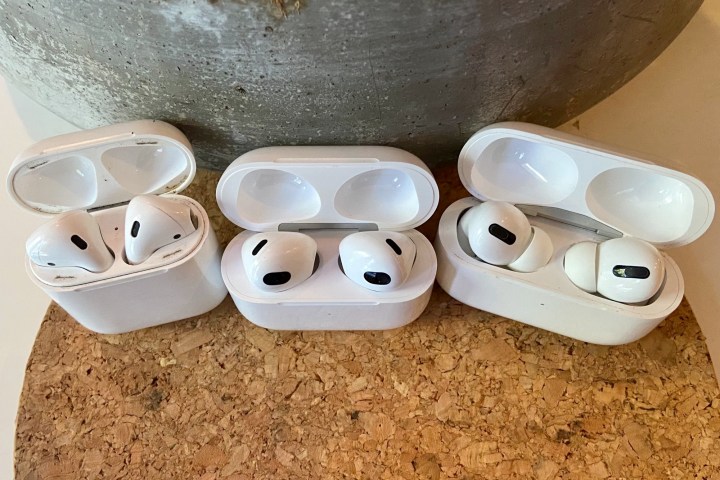
Each case is designed for the AirPods to lock inside in a specific way: Early charging cases have the speaker tips facing out, while the AirPods 3 and AirPods Pro have the speakers facing each other. It should be pretty obvious when your AirPods are inserted the right way, and the status light should blink each time an AirPod is correctly placed.
The exception here is the AirPods Max, which are over-ear headphones that don’t have a charging case. You can just skip this step and find the charging connection located directly on the AirPods Max.

Apple
Step 2: Connect your charging case to a power source with a Lightning cable
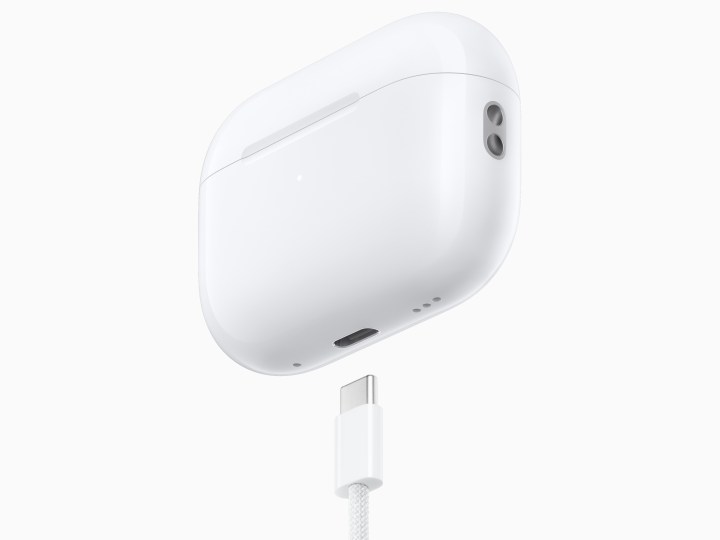
Look on the bottom of your AirPods case, and you’ll see a Lightning port, or in the case of the latest AirPods Pro, its new USB-C port. That’s how you recharge the case when necessary. Once you have your AirPods linked to a mobile Apple device, you should be able to open the charging case near that device and see an immediate notification of the current battery life for each AirPod and the case itself — handy if you want to know when to recharge ahead of time.
Press image / Apple
Step 3: Your AirPods came with a Lightning to USB or, again, the AirPods Pro now include a USB-C cable, for charging. You can connect this cable to any compatible adapter (although Apple’s own adapters are highly suggested) or a USB port on your computer. Connect the Lightning or USB-C end to your charging case, and it will begin charging.

Digital Trends
Charging your AirPods wirelessly
Can Airpods be charged wirelessly? That depends on the type of case you have. For the first-generation AirPods, the case that came with that model does not support wireless charging, so you’ll have to use a cable. For the AirPods 2, some versions came without wireless charging, and some upgraded to a wireless charging case (buyers generally had a choice when buying directly from Apple), so you’ll have to check which version you bought. If you have the AirPods 3 or the AirPods Pro, all versions come with a wireless charging case, including the latest USB-C AirPods Pro 2.
You can also choose to buy a wireless charging case separately that will work with both the first-gen AirPods and the AirPods 2, allowing you to upgrade to this capability. Currently you cannot buy a separate wireless charging case for AirPods Pro.
Now all you need is a wireless charger.
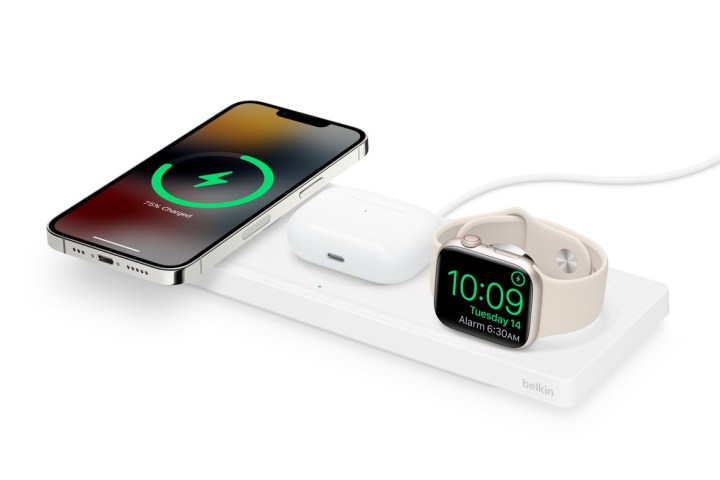
Image used with permission by copyright holder
Use a wireless charger
If you’ve got a wireless charging case, you’ll need a Qi-standard wireless charger. The good news is that most wireless chargers on the market use the Qi standard, so you have your pick of which model you want.
Apple has its own MagSafe charger, which is compatible with the AirPods case, and there are many other great options from Belkin, Logitech, and other brands. Many even combine wireless charging stands for iPhones, Apple Watches, and AirPods, so you can charge them all in one spot.
Additionally, AirPods 3 and AirPods Pro 2 charging cases work with the Apple Watch charger.
Step 1: Once you have a wireless charging pad, plug it into an outlet and place your AirPod case directly on it with the front/indicator light facing outward. You should be able to tell when the case starts charging because the indicator light will come on and stay on.
If you’re wondering, “How do I charge my AirPods Pro wireless case?” — don’t worry: All these steps apply equally to the AirPods Pro, although the case design is slightly different.
Step 2: Watch the charging status light for more information
Every AirPods case has an indicator or status light that can keep you updated on charging status. For the non-wireless original charging case, the status light is on the inside, so you’ll have to open it up. All other cases have the status light on the outside, on the front of the case.
When the case light shines amber, it means less than one charge remains, and it’s time to charge up. To check on the status when charging via cable or wireless pad, pop open the charging case to check on the status light. When it shines green, the case has been fully charged.
If you’d like to upgrade your AirPods experience, you should also take a look through our complete guide on the best AirPods accessories you can currently get, from new charging options to ear tips, case covers, and more.
Editors’ Recommendations

