I have (somewhat infamously) written about recipes you should never make. As I jotted down this recipe for cheese curds, I genuinely assumed no one would follow my lead; it was simply too laborious for such chaotic times. I’ll let you in on a secret: I don’t even like cheese curds, or at least I thought I didn’t.
Like Sprinkles Cupcakes, In-N-Out, and Krispy Kreme, the allure of squeaky curds eluded me. But I set out to represent a whole range of cheesemaking (and eating) experiences, and the series felt incomplete without curds. (Plus, people really seem to like poutine.)
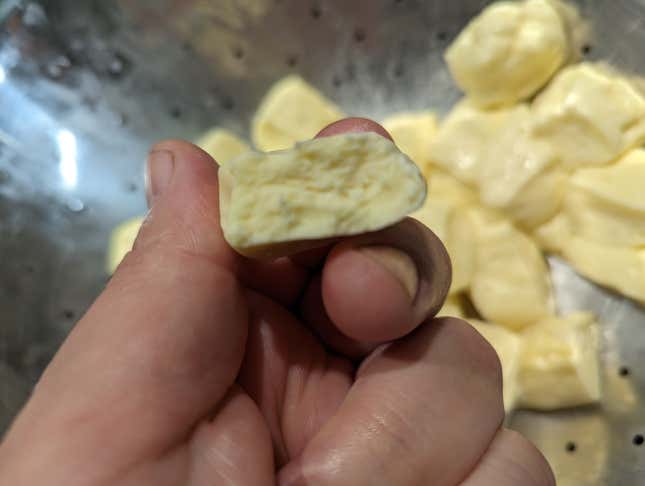
What shocked me to the core was this: At the end of a 14-hour cheesemaking day, when you would think I’d want nothing to do nothing more than chuck milk out the front door, I found myself obsessively nibbling on the damn curds. They were downright addictive, a thought I’d never had, not once, in all the times people have shoved cheese curds in my general direction.
These had a deep piquant flavor, and offered a gentle resistance when I bit into them, rather than the rubbery texture I was often met with in restaurants. The squeak felt fresh. While making your own curds is a whole damn journey, I say strap on a ladle-shaped helmet and ride. It turns out, the pot of gold at the end of the rainbow is a bowl of curds.
Squeaky Cheese Curds, adapted from a recipe by Gavin Webber
Ingredients:
- 1 gallon milk, not ultra-pasturized (pasturized, VAT-pasturized, or raw is OK.)
- 1/8 teaspoon mesophilic culture
- ½ tablespoon calcium chloride dissolved in ¼ cup distilled water
- ½ tablespoon rennet dissolved in ¼ cup distilled water
- 1 tablespoon non iodized salt
Equipment (Check out our buying guide for equipment recommendations):
- 6-quart or larger stockpot
- 3-quart saucepan
- Stainless steel colander
- Cheesecloth
- Measuring spoons
- Thermometer
Set up your space
As with all things cheese, cleanliness is next to curdliness. Make sure the pot, the counter, all the utensils you’ll need and use—from the measuring spoons to the thermometer—the faucet, and sink are all freshly cleaned and sanitized with either white vinegar or a sanitizing solution. Keep your spray bottle of vinegar and clean towels nearby.
Boil water in a pot on the stove, and submerge your cheesecloth for at least a minute, and then use sanitized tongs to take it out and stretch over your colander before you begin.
Once you start, you don’t want to wash dishes or anything else in the kitchen, as it can contaminate your cheese from the droplets. If you have ferments going, you’ll want to cover them or relocate them so they don’t contaminate your cheese. We’re looking for a sterile environment.
Heat the milk and introduce some culture
This is a long-haul cheese recipe, so we’re going to save our arms by using a double boiler to heat up the milk. If you’re working right on top of the burner, you have to stir the entire time. Atop the double boiler, it’s a little more forgiving, so you can let the milk come to temperature with less stirring.
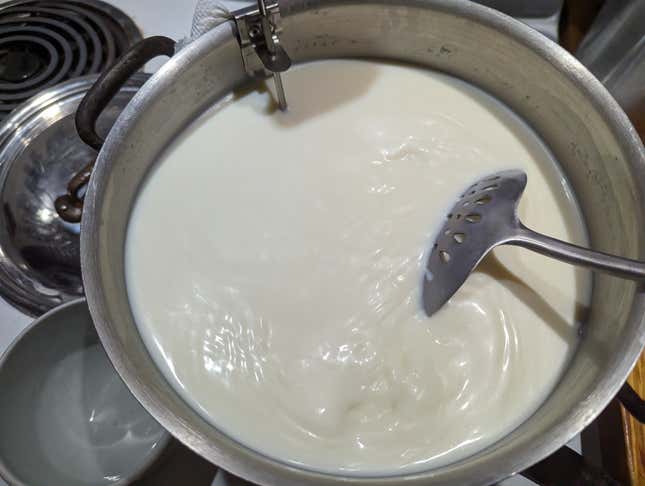
Set up a sauté pan with a few inches of water, with a six-quart (or larger) pot on top of it. Make sure your thermometer is attached to the pot, then add the milk. Our target temperature is 88℉, so it won’t take long. Once you reach that temp, turn off the burner, but don’t move the pot of milk.
Add your culture: in this case, the mesophilic culture. It’s a powder, and you want to ensure it’s not clumpy—that’s a sign the culture is bad. It should flow like salt. Sprinkle it on top of the milk, but don’t stir; put the cover back on and walk away for five minutes. This lets the culture rehydrate, so it won’t be clumpy when you stir it.
After five minutes, take the cover off, and stir for a minute—a whole minute, all 60 seconds. Then put the lid back on, and set a timer for 45 minutes. We’re going to let the culture ripen, so go take a disco nap.
Add rennet and cut the curds
After 45 minutes, remove the lid, and you should see the cream has floated back to the top. At this point, stir the milk to make a little cyclone, then add the calcium chloride. Continue to stir for a minute.
Keep stirring, add the rennet solution into the milk, then continue stirring for a full minute in a figure-eight motion. At the end of the minute, calm the milk by holding your spoon still in the pot, then cover it with the lid and set a timer for 40 minutes. This will give the curd time to set.
When the timer goes off, take the lid off and use your knife to check for a clean break. Your knife should cut through the curd cleanly, with the curd keeping its (new) edge and shape after you pull your knife away. If you have a clean break, proceed. If you do not, put the lid back on and wait another ten minutes and re-test.
Once you’ve got a clean break, cut the curds into ½-inch cubes. Start by cutting a vertical column in one direction, then rotate the pot and make another set of cuts, this time running perpendicular to the first set, like a grid, on top of the milk. Then cut it diagonally in ½-inch segments, criss-crossing across your first pair of cuts. You’re aiming for ½-inch cubes.
Put the cover back on and walk away for five minutes so the curds can heal. I don’t know that means, but we say it a lot in cheesemaking. The curds need a moment; go have a smoke break.
Reheat the curds
At this point, you should see whey on top of the pot, and the curds should have sunk. Turn the heat back on to medium-low, and gird yourself. We’re going to bring the milk up to 102℉, but we’re going to do it so slowly you will cry, but you’ll be crying with biceps of steel. Stir constantly for the 30 minutes it should take to reach that temperature. Don’t stir in mere circles; start with the spoon at the bottom of the pot, lift the curds up to the top of the whey, and repeat that motion, over and over.
The curds will break down and get smaller as you stir. Once you reach 102℉, turn off the heat, then stir for 30 more minutes, keeping the temperature around 102℉. I know. I’m sorry. The curds should firm up during this time, but that might be hard to notice.
One way to tell is to give ‘em a little squeeze. Wash your hands, including those nails. Spray your washed hands with vinegar, then reach into the curds, grab a handful, and squeeze them. If they hold together, they’re just right. You should still be able to push your thumb through and break them up, but if they don’t hold together, stir for another 10 minutes and try again.
Once your curds knit together as described above, it’s time to take a break for 15 minutes, so the curds can rest.
You’re not done with that whey
Set a cheesecloth-lined colander over a pot to catch the whey. Slowly ladle the curds and whey into the colander, and let everything drain for 10 minutes. The curds should form a slab.
Take this new pot of whey over to the stove and heat it up to 115℉. It doesn’t need the double boiler, it can go right on the burner. Once it comes to temp, turn the heat off. Take the colander full of curds and place it on top of the pot, like a lid. Place the pot lid on top of the colander, so the curds are under it, and let them sit for fifteen minutes.
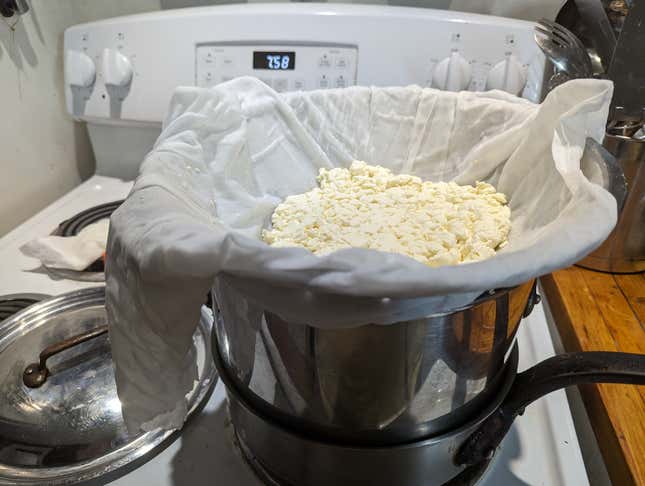
Take the lid off the pot, then grab the slab of curds and turn them over. Repeat every 15 minutes for the next hour. Resist—and I realize this sounds impossible—taste-testing the curds.
The curds should be sticking to each other in a cohesive slab by now, and that slab should have a shiny surface. If not, keep flipping.
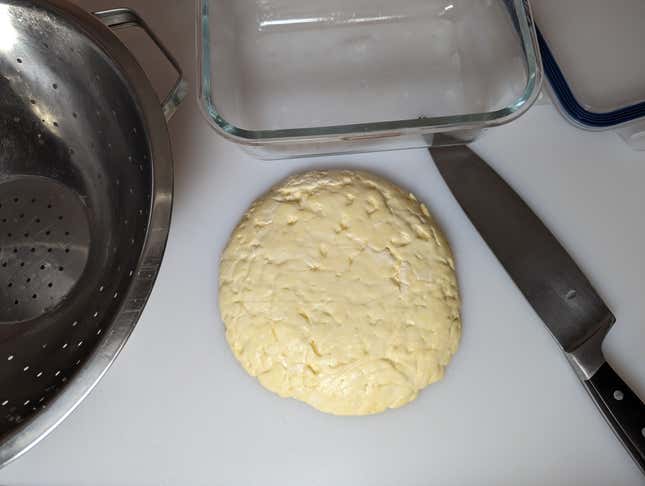
Once you have that shiny surface, transfer the slab to a cutting board, and cut them into your final curd size. This is personal preference, but I like a ½-inch- or 1-inch-wide rectangular curd. Transfer the curds to a container and toss them with the salt. Put the lid on the container, and shake it with the appreciation you never gave to all the squeaky curds of meals past. It’s not your fault, you couldn’t have known. Who knew squeaky curds were this annoying to make? You didn’t.
But you did it.
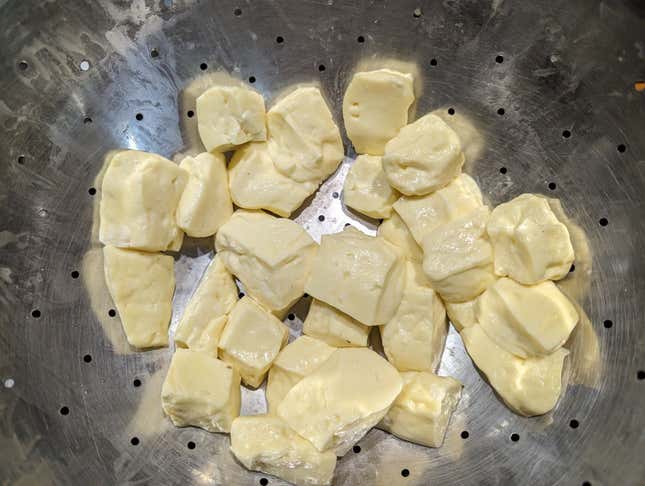
Just kidding. You’re not done yet.
You gotta make ‘em squeak
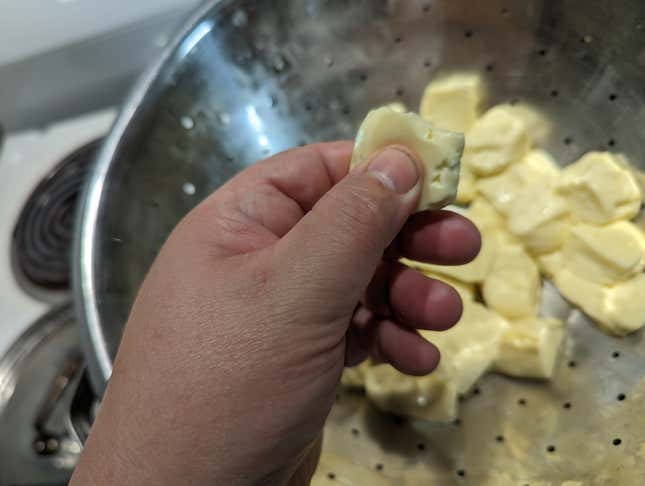
As a last step, put the salty curds back into the colander over the pot, with the heat off. Cover with a tea towel, and leave them in there for 12 hours to drain. This is the step that makes them squeaky. But when you wake up, you’ll have homemade, genuinely squeaky cheese curds (and a very sore arm). You can store these for two weeks in the fridge, but let’s be honest, you’re going to eat them before your arm has time to heal.

