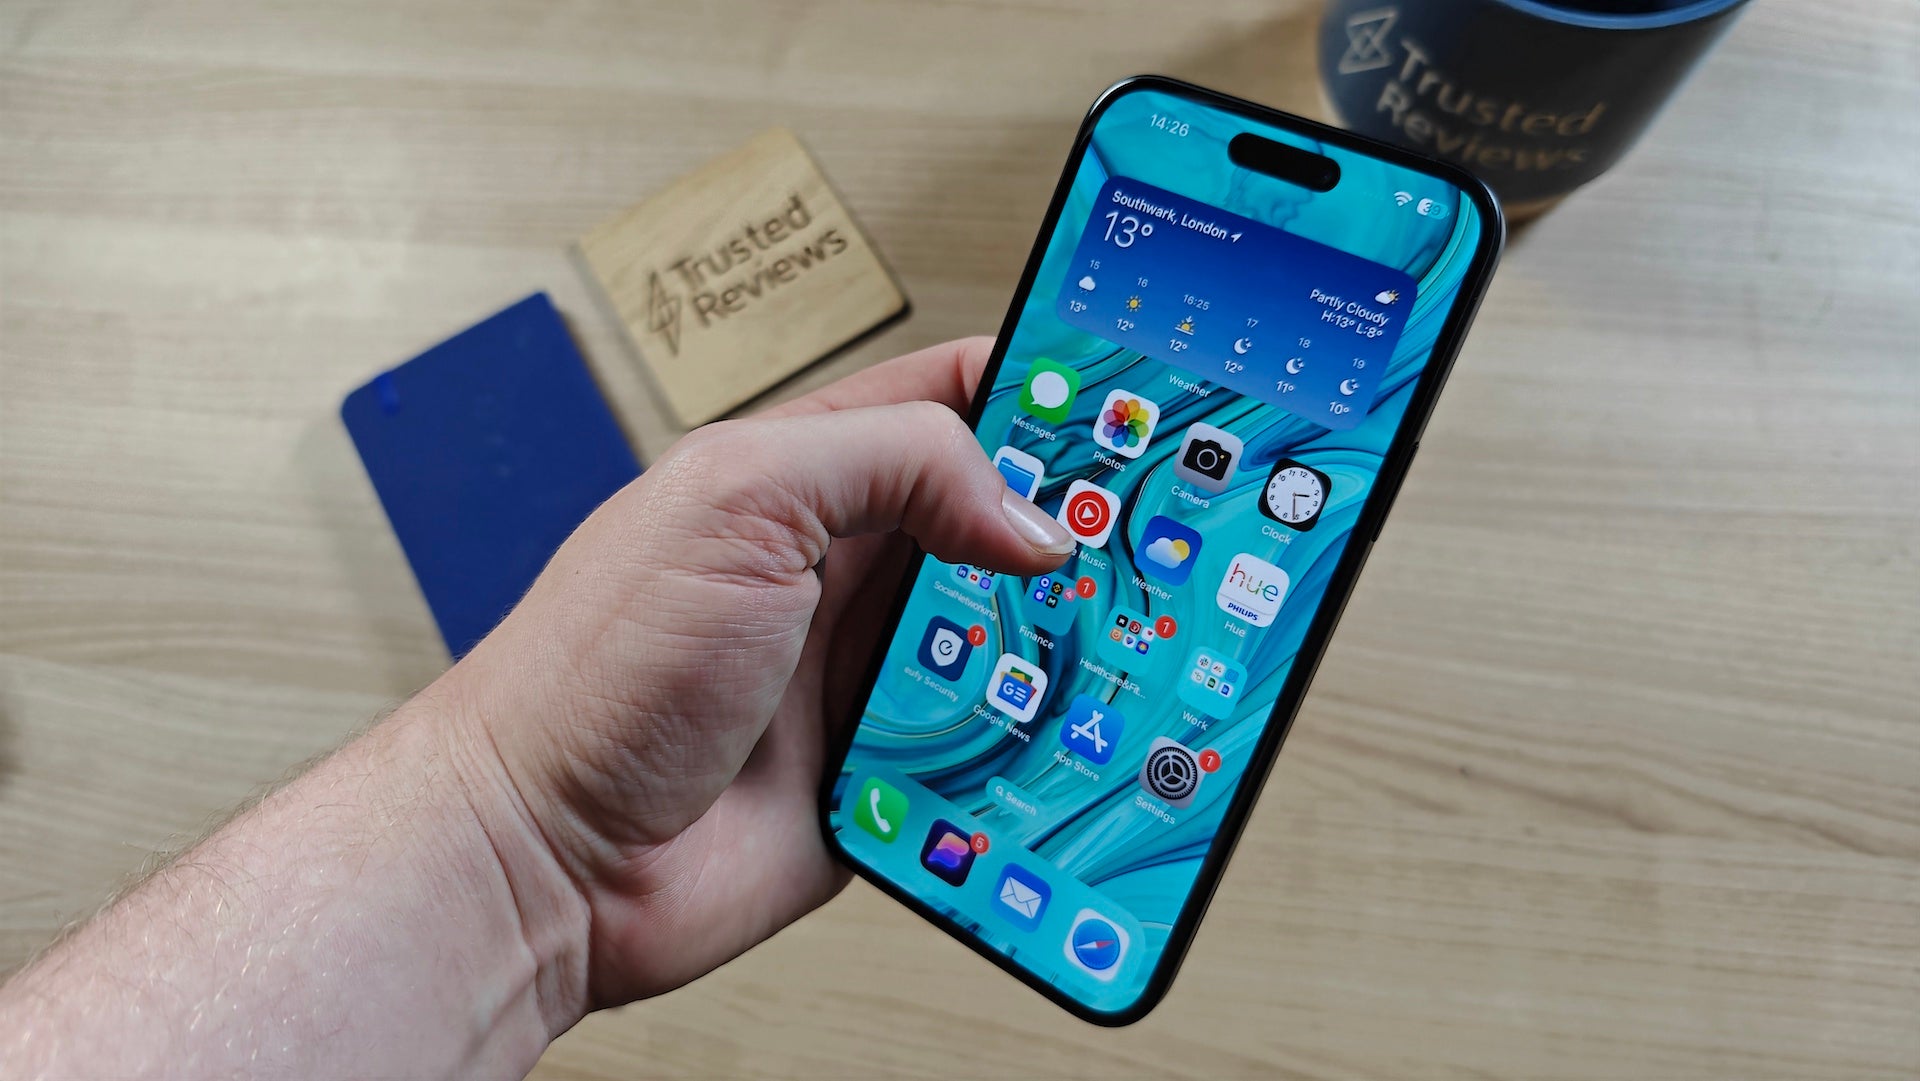
Call Forwarding is a handy feature that allows you to transfer any calls that come through to your phone from one number to another automatically.
This means that you don’t need to worry about manually transferring calls over or picking up the phone and reeling off a separate number for callers to try instead.
The good news is that there’s no need to download an app to access these tools as Call Forwarding is built directly into your iPhone settings. We’ve put together this guide to teach you how to set up (or remove) Call Forwarding in just a few simple steps.
Keep reading to learn to do it.
What you’ll need
- An iPhone
- Cellular service through a GSM network
The Short Version
- Go to your settings
- Tap phone
- Select Call Forwarding
- Toggle Call Forwarding on
- Tap Forward To
- Enter the number you’d like to forward calls to
How to Set Up and Remove Call Forwarding on Your iPhone
-
Step
1Go to your settings
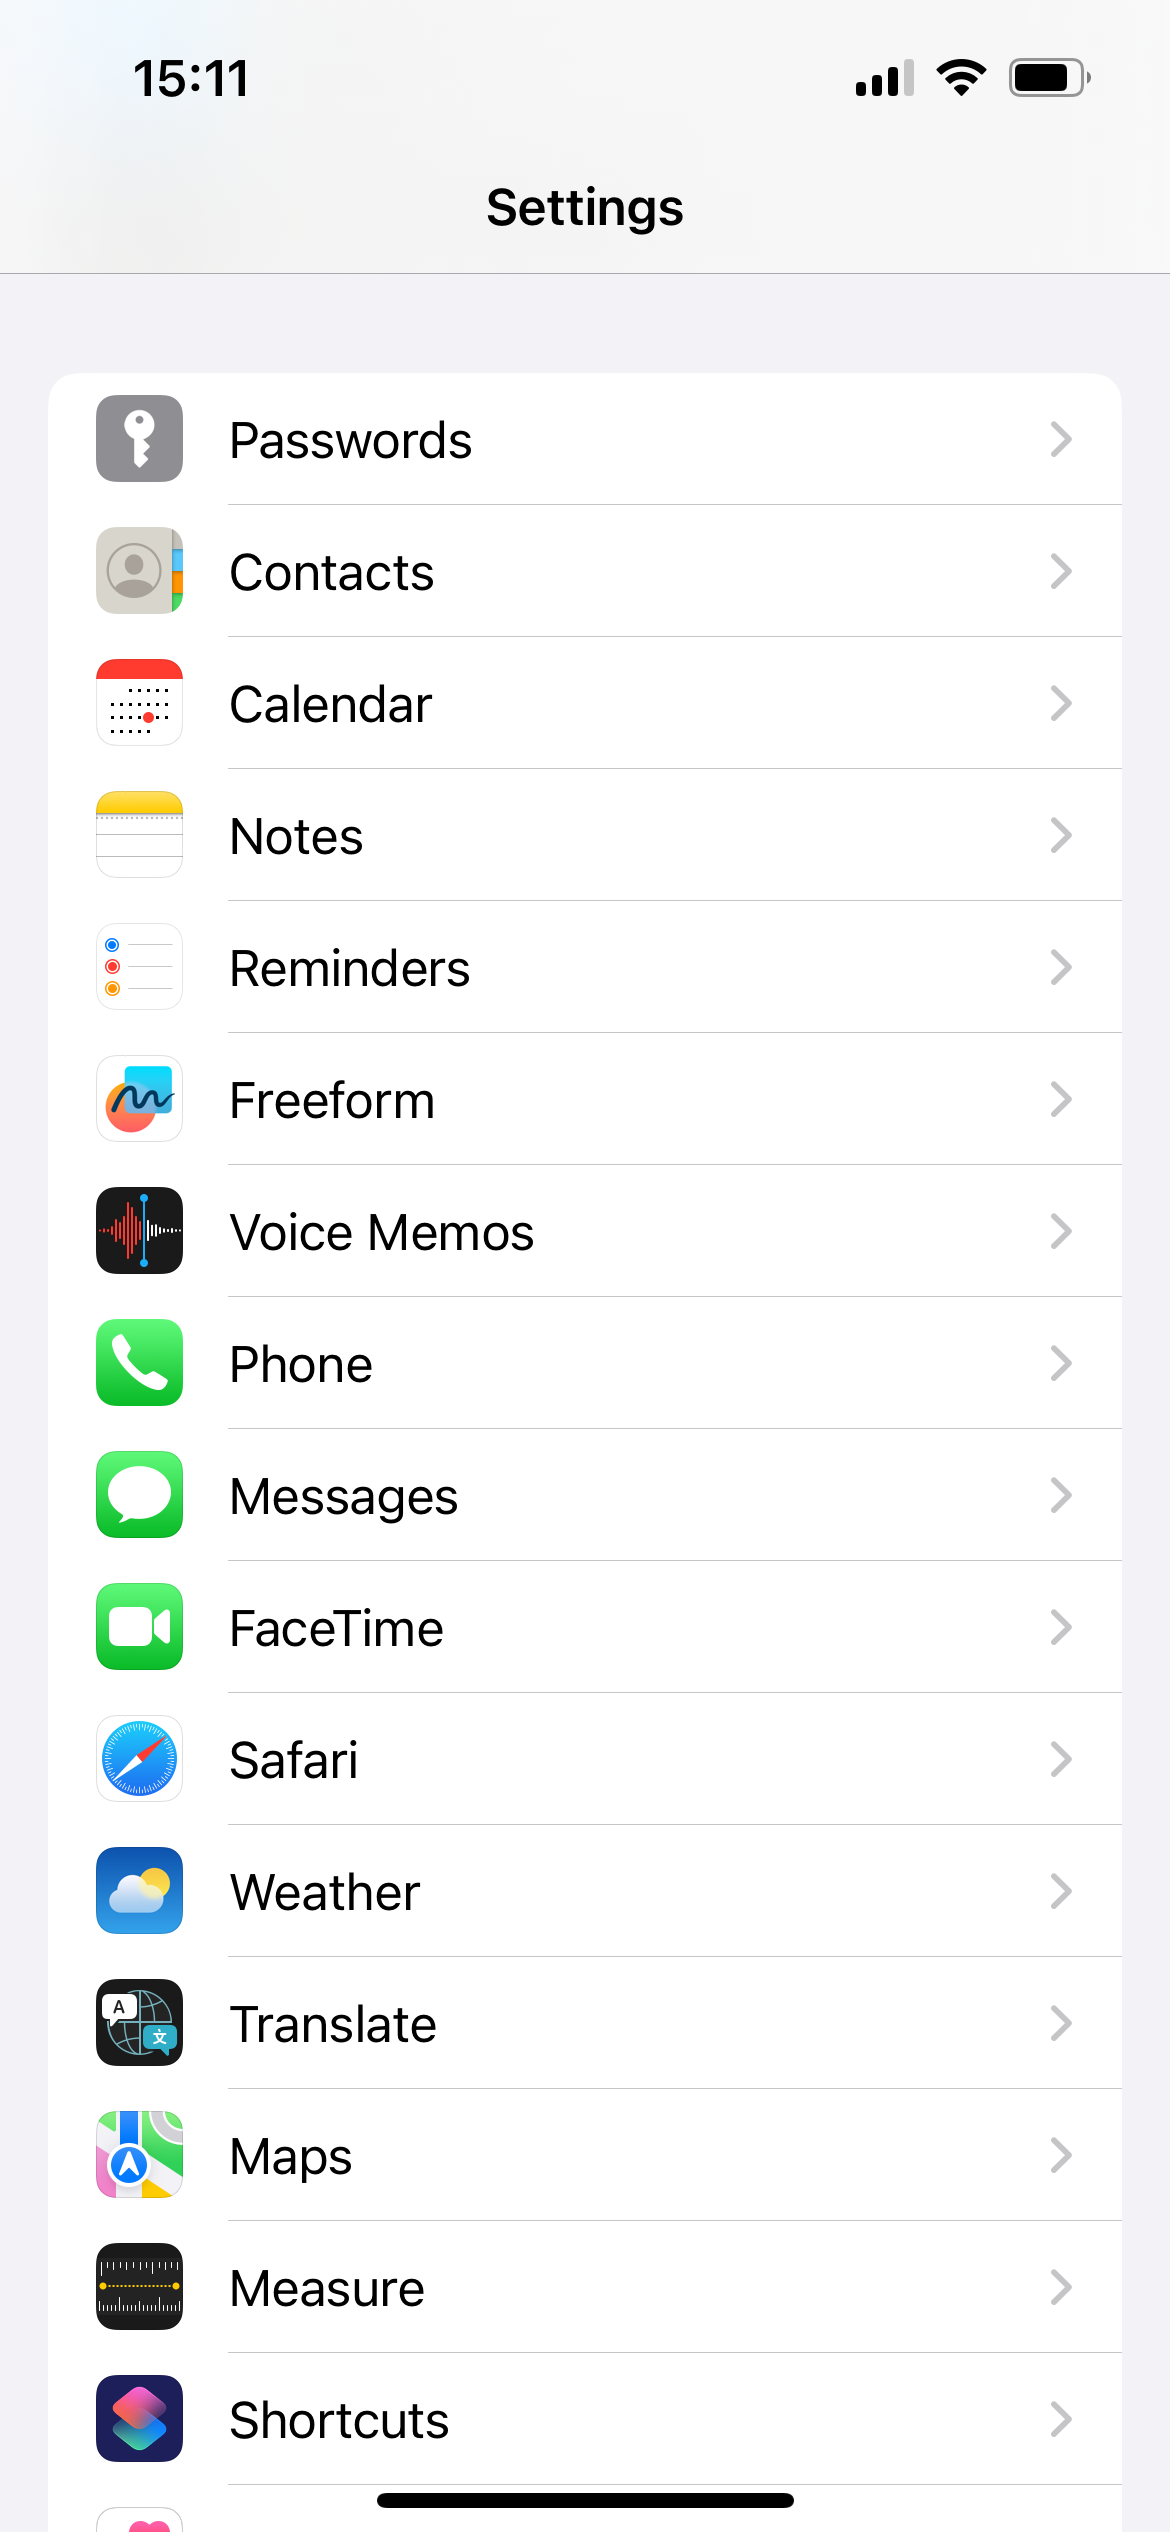
You can use any iPhone to follow these steps, but you must be on a GSM network.

-
Step
2Tap Phone
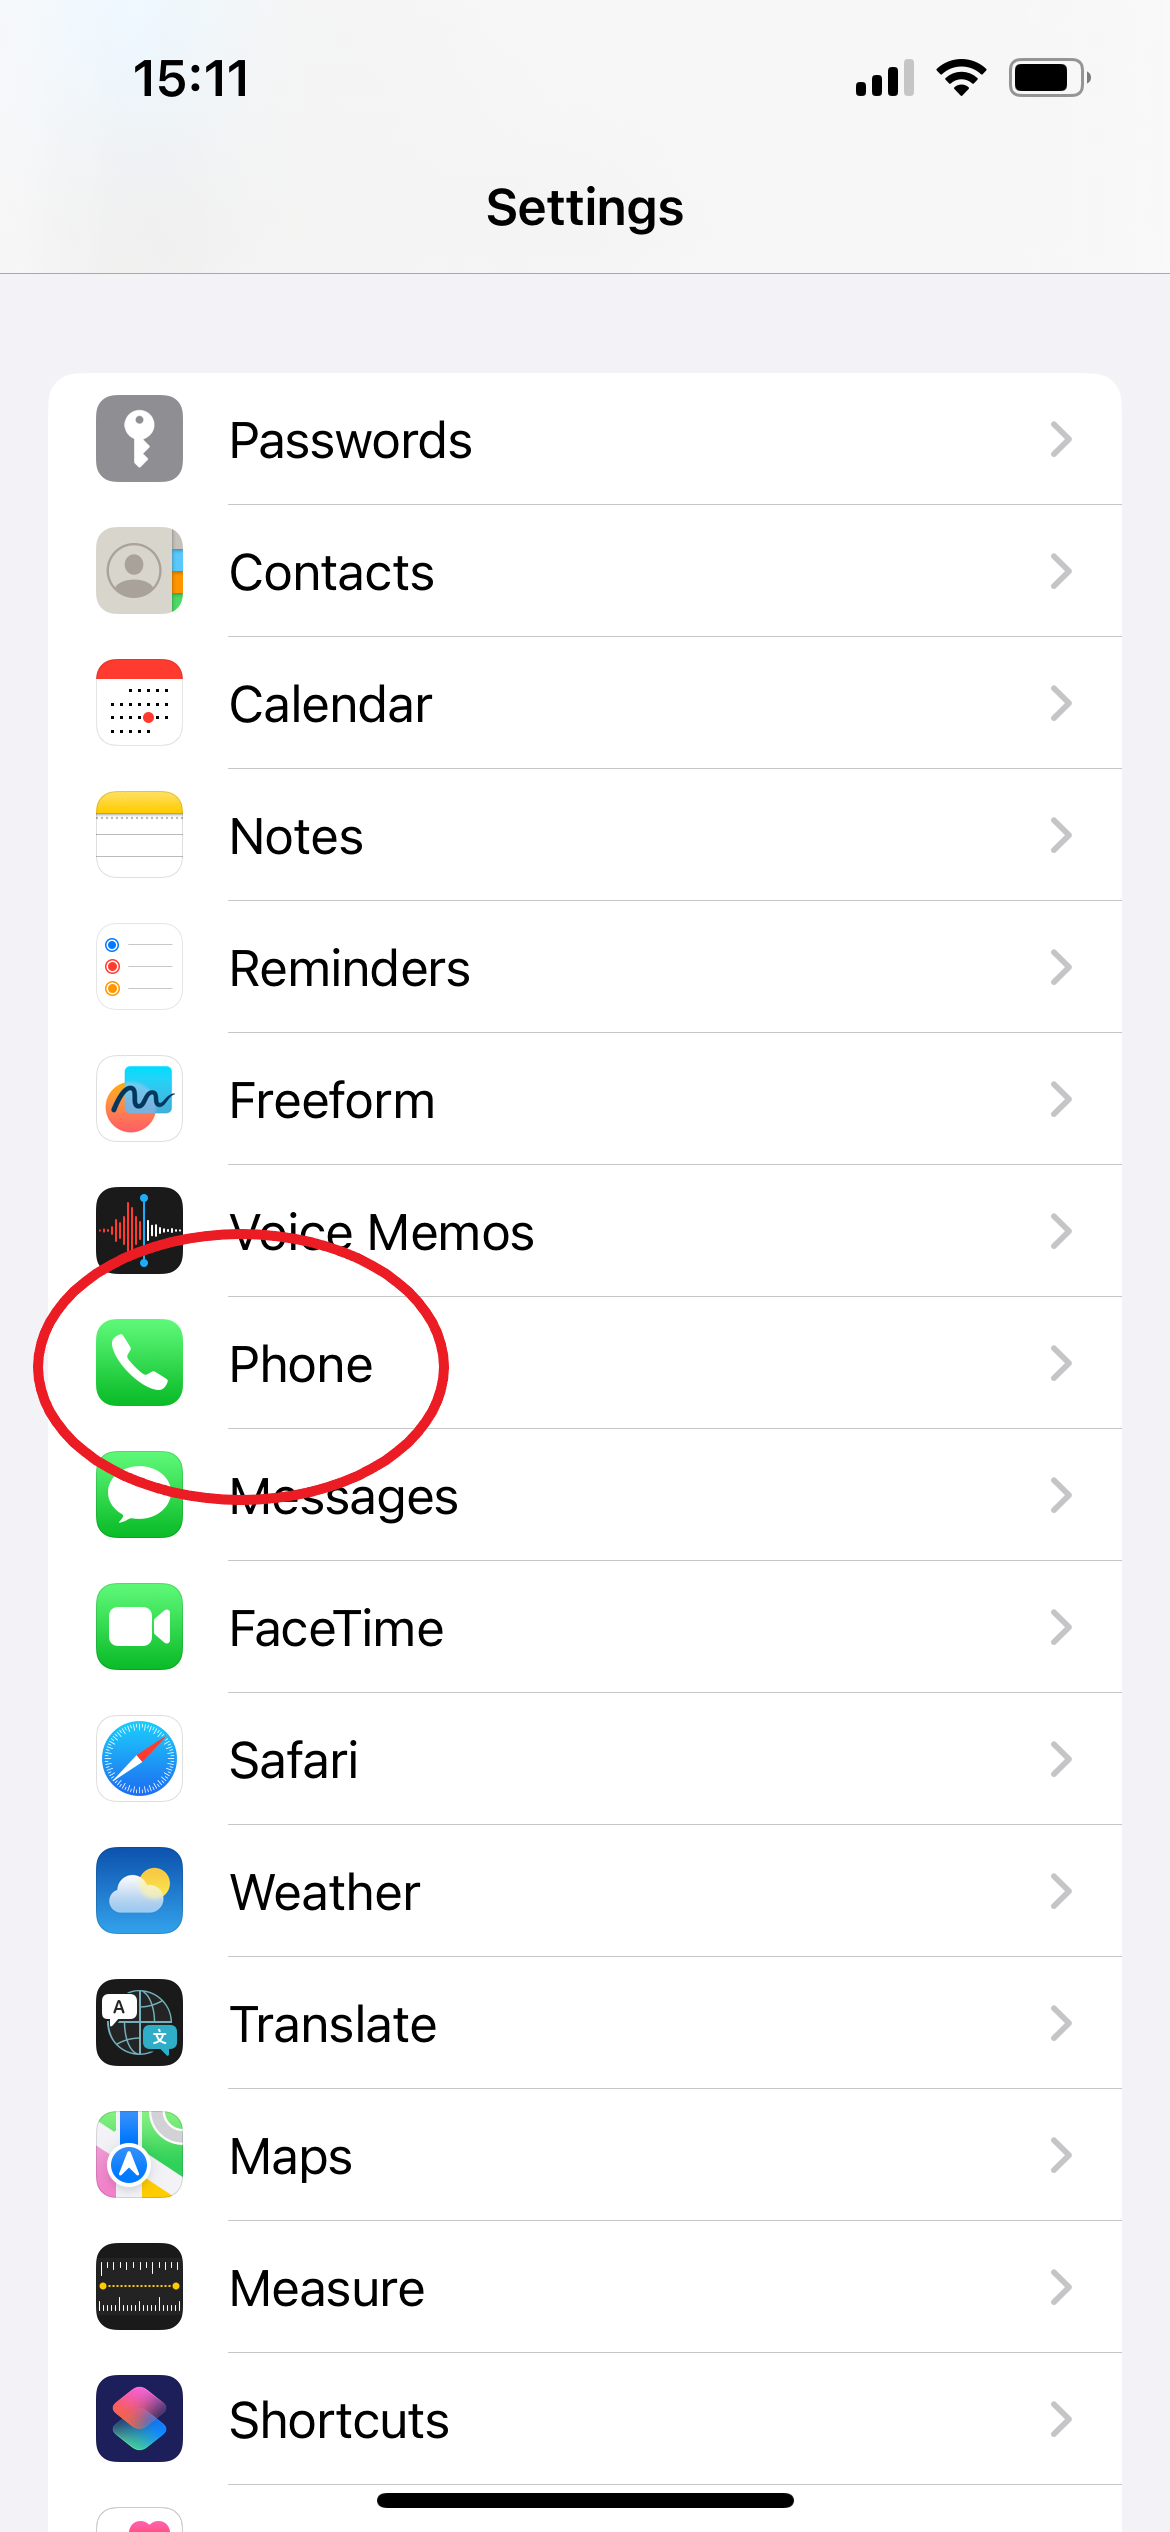
You might have to scroll down a bit to find this option.

-
Step
3Select Call Forwarding
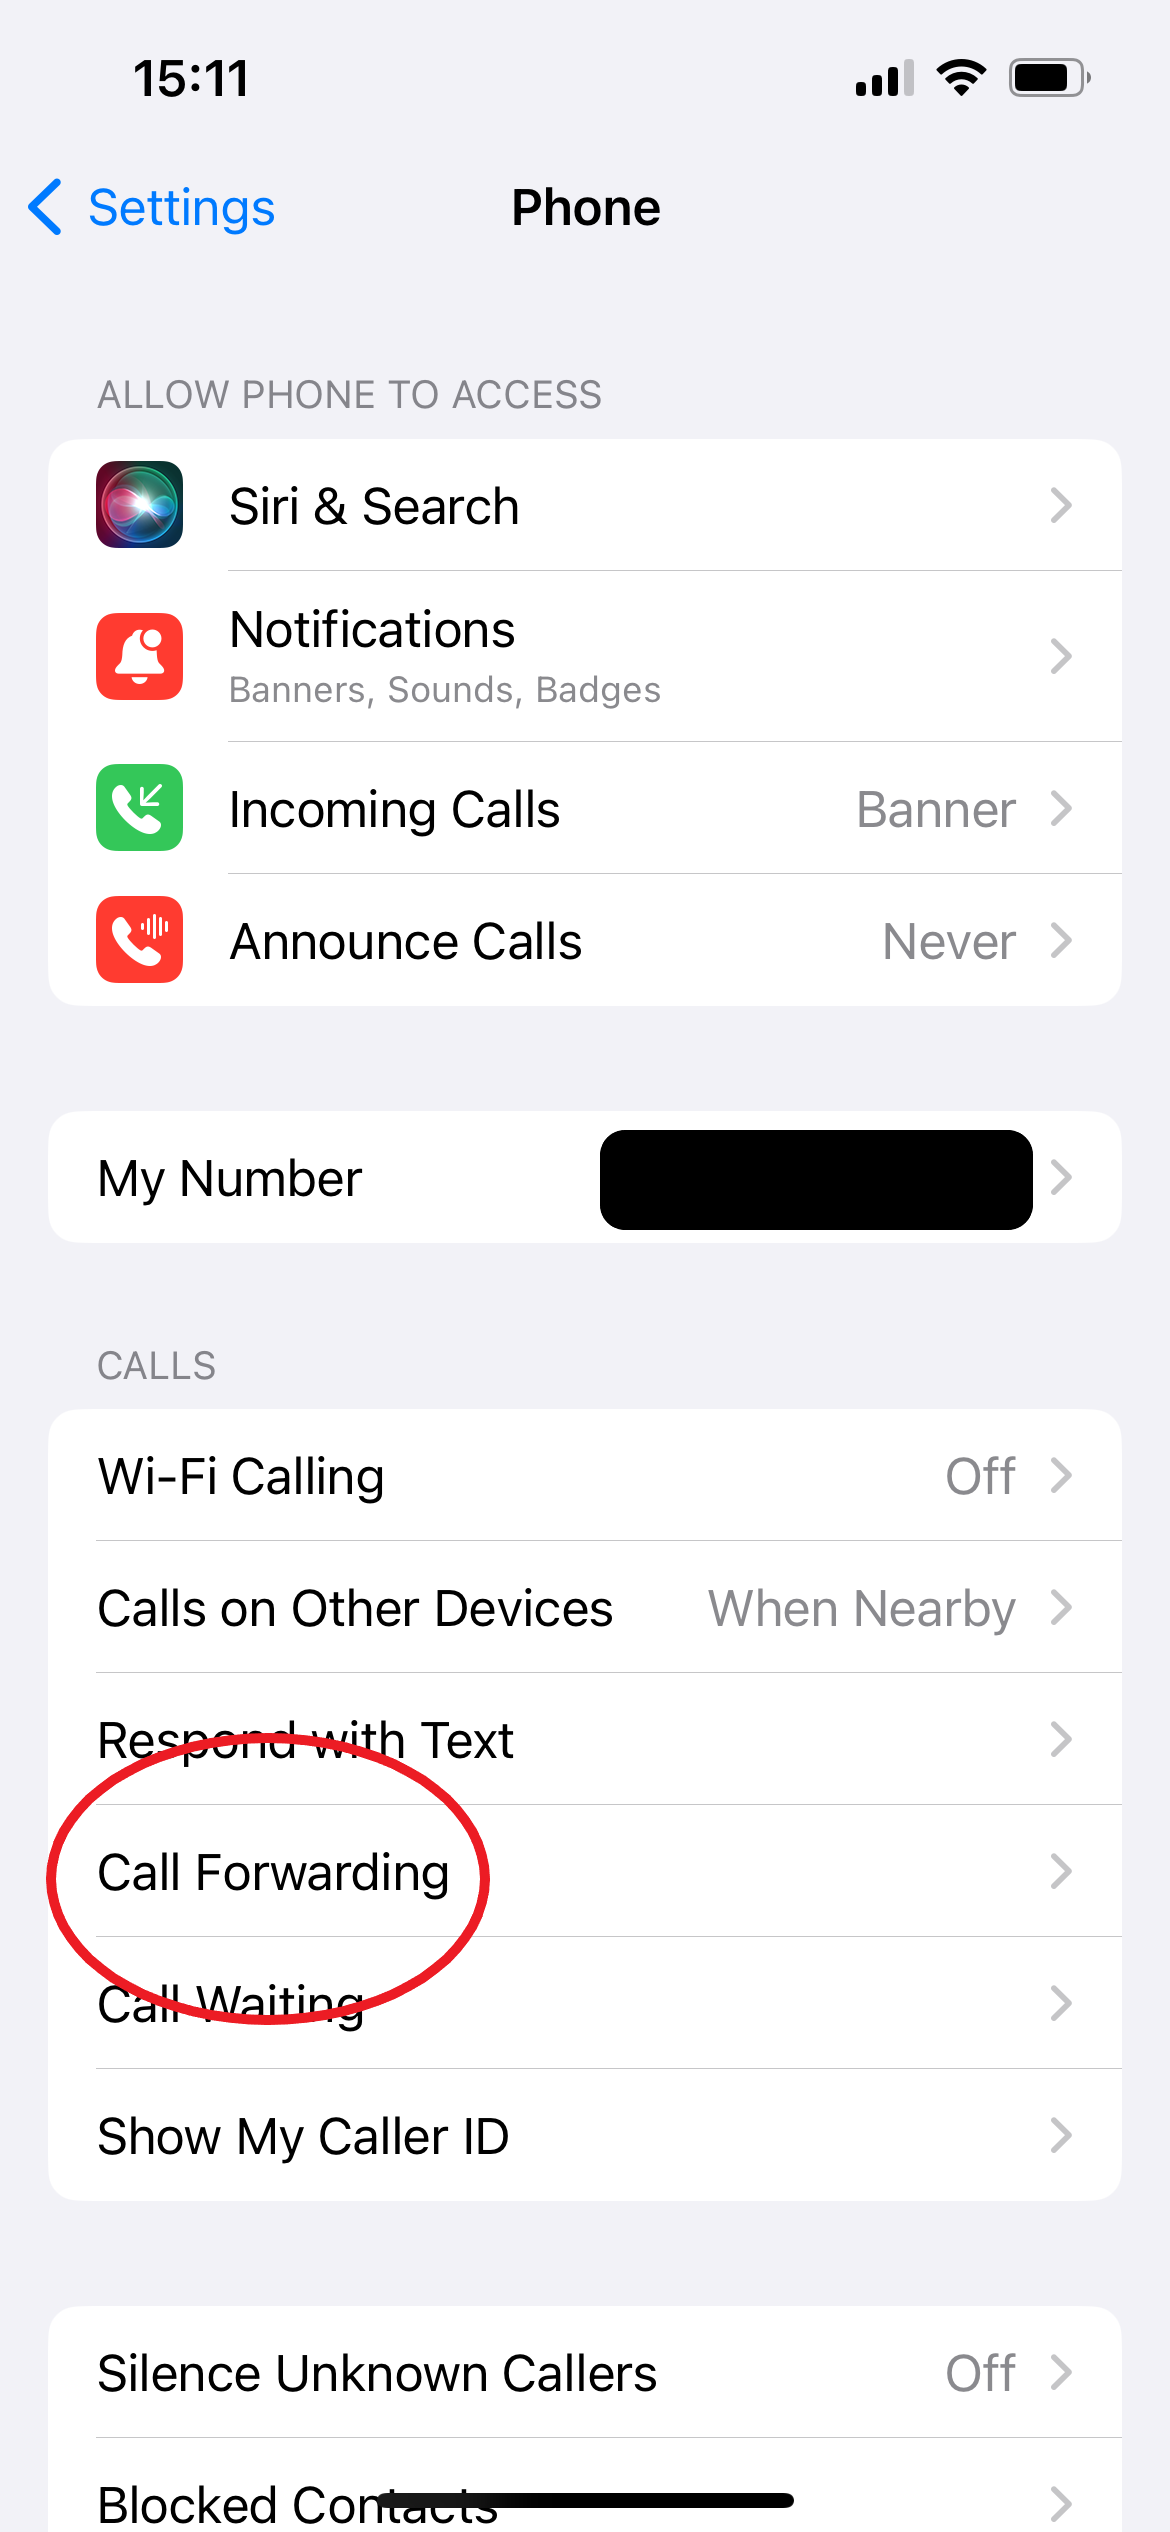
You can find this option under the Calls heading.

-
Step
4Toggle Call Forwarding on
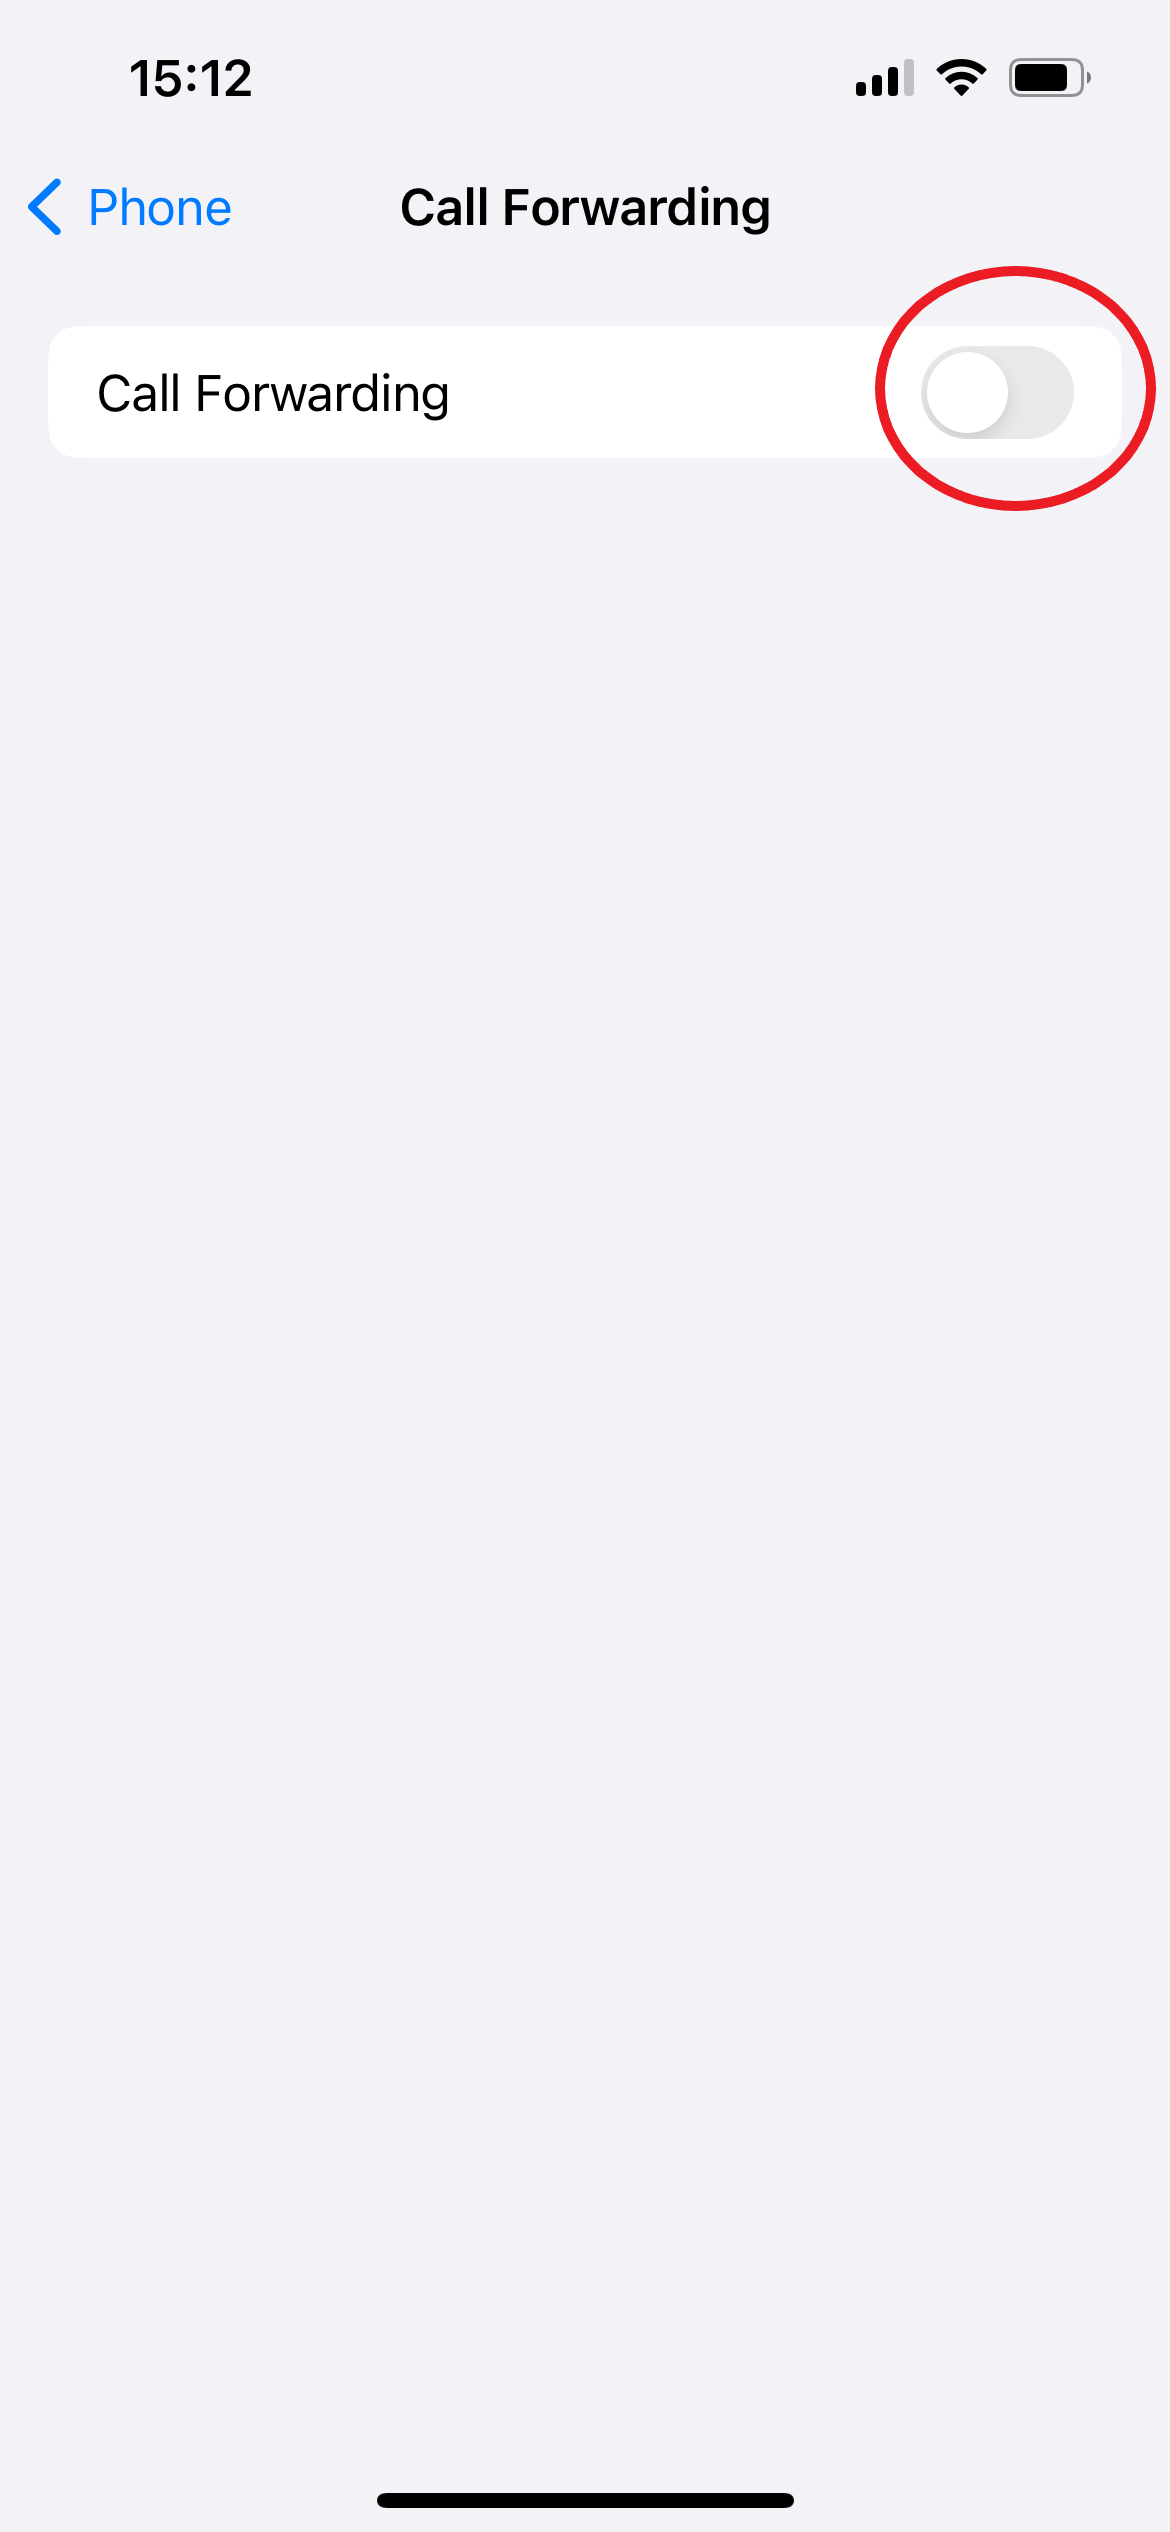
Simply tap the button to turn it green.

-
Step
5Tap Foward To
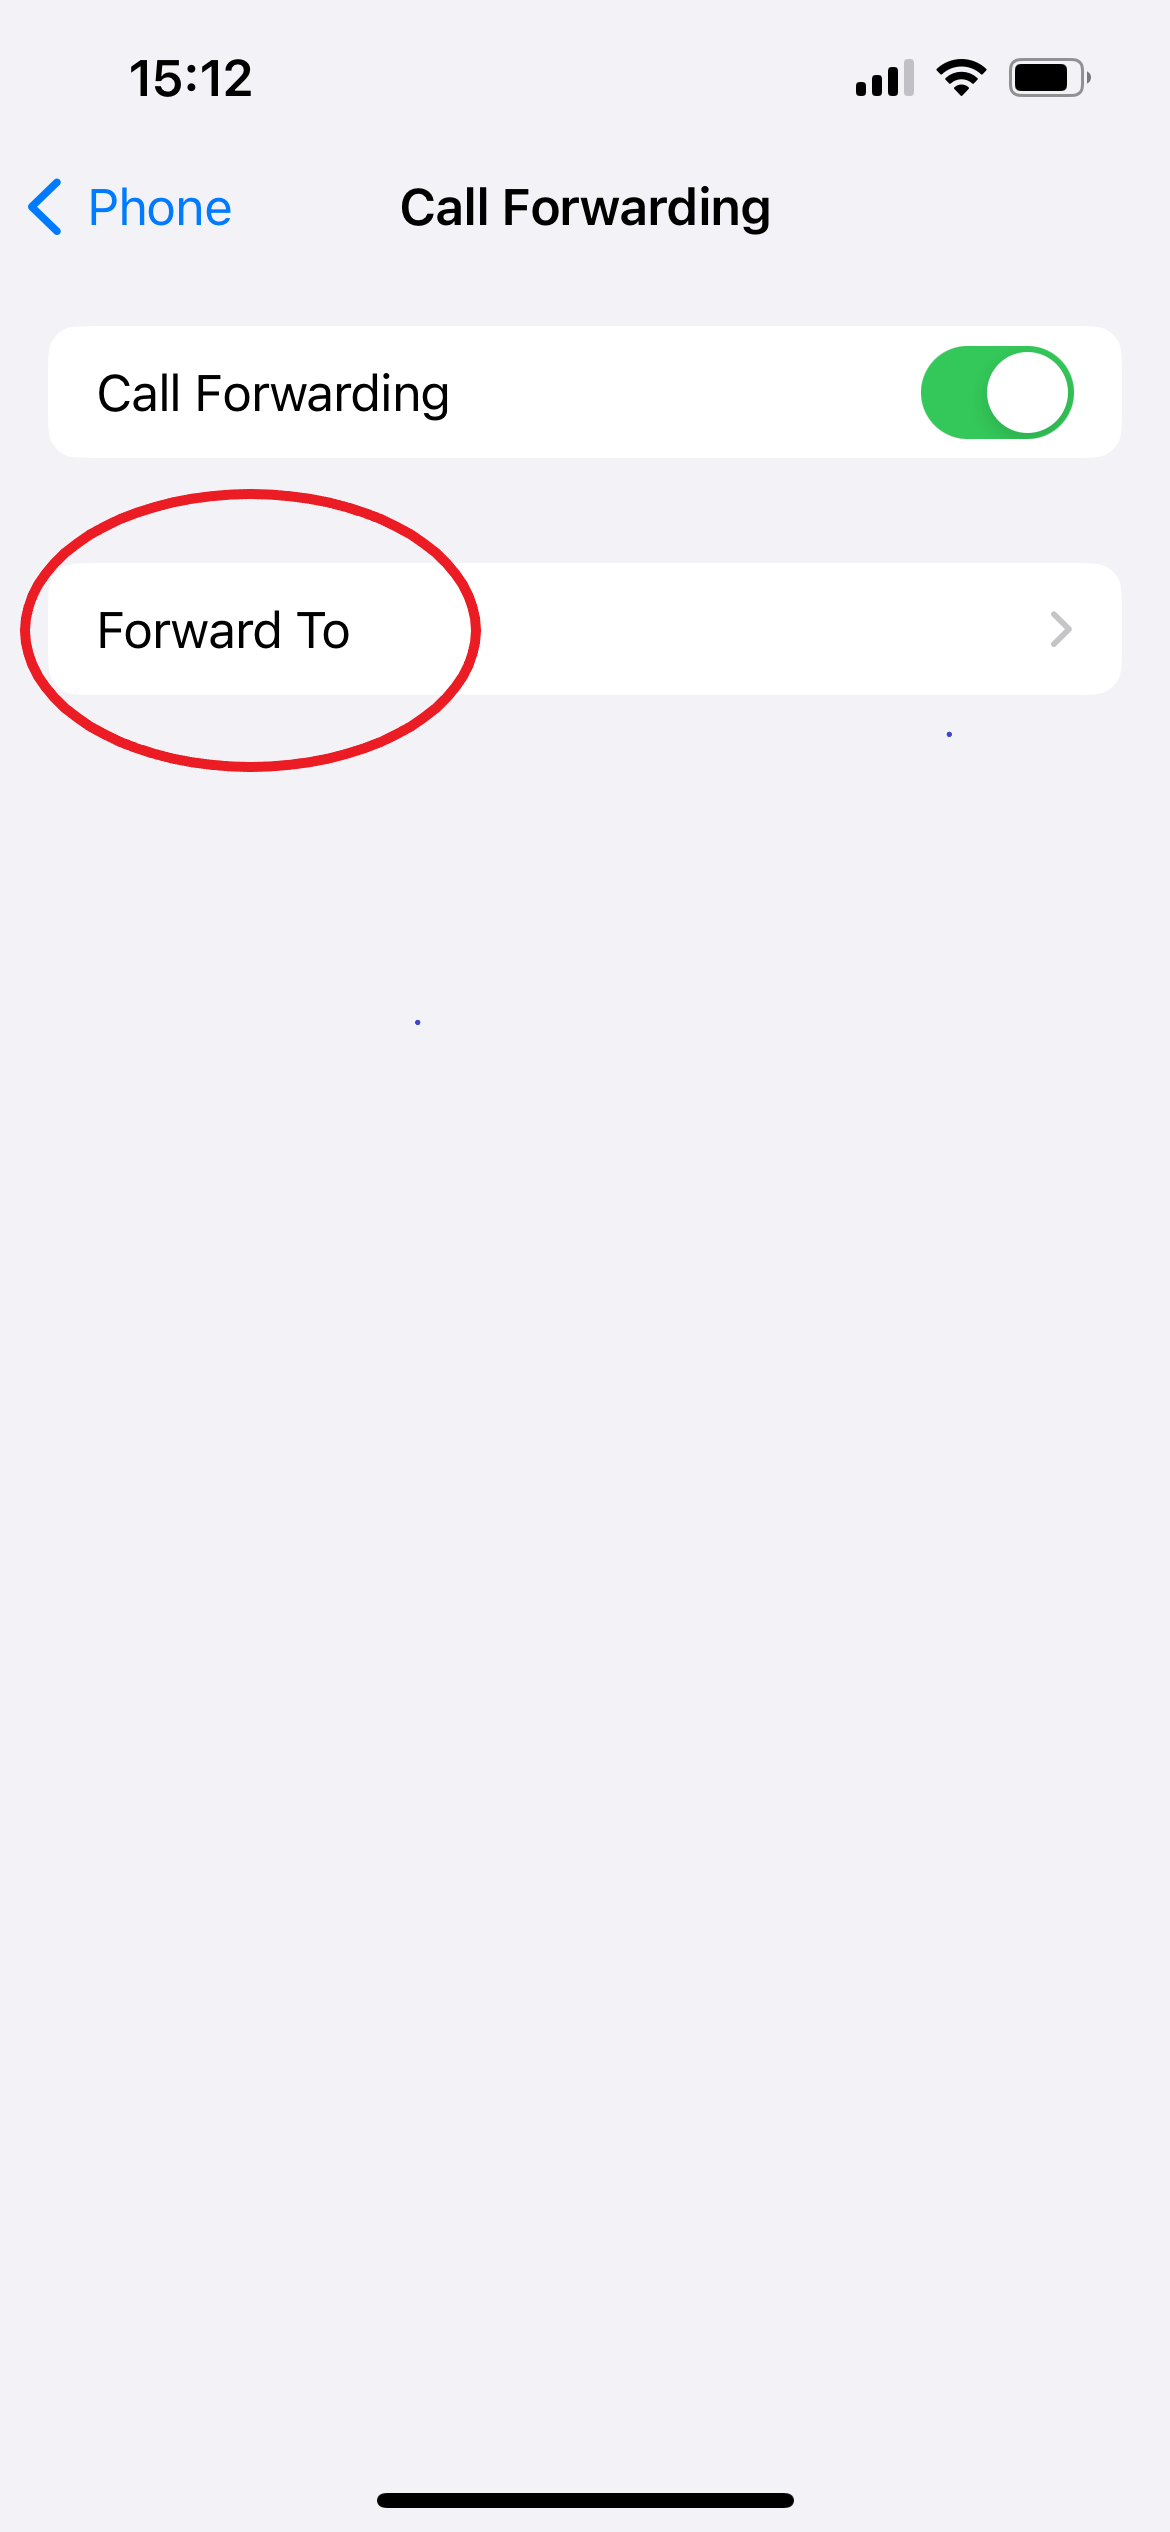
This is where you select where you want your calls to go.

-
Step
6Enter the number you’d like to forward calls to
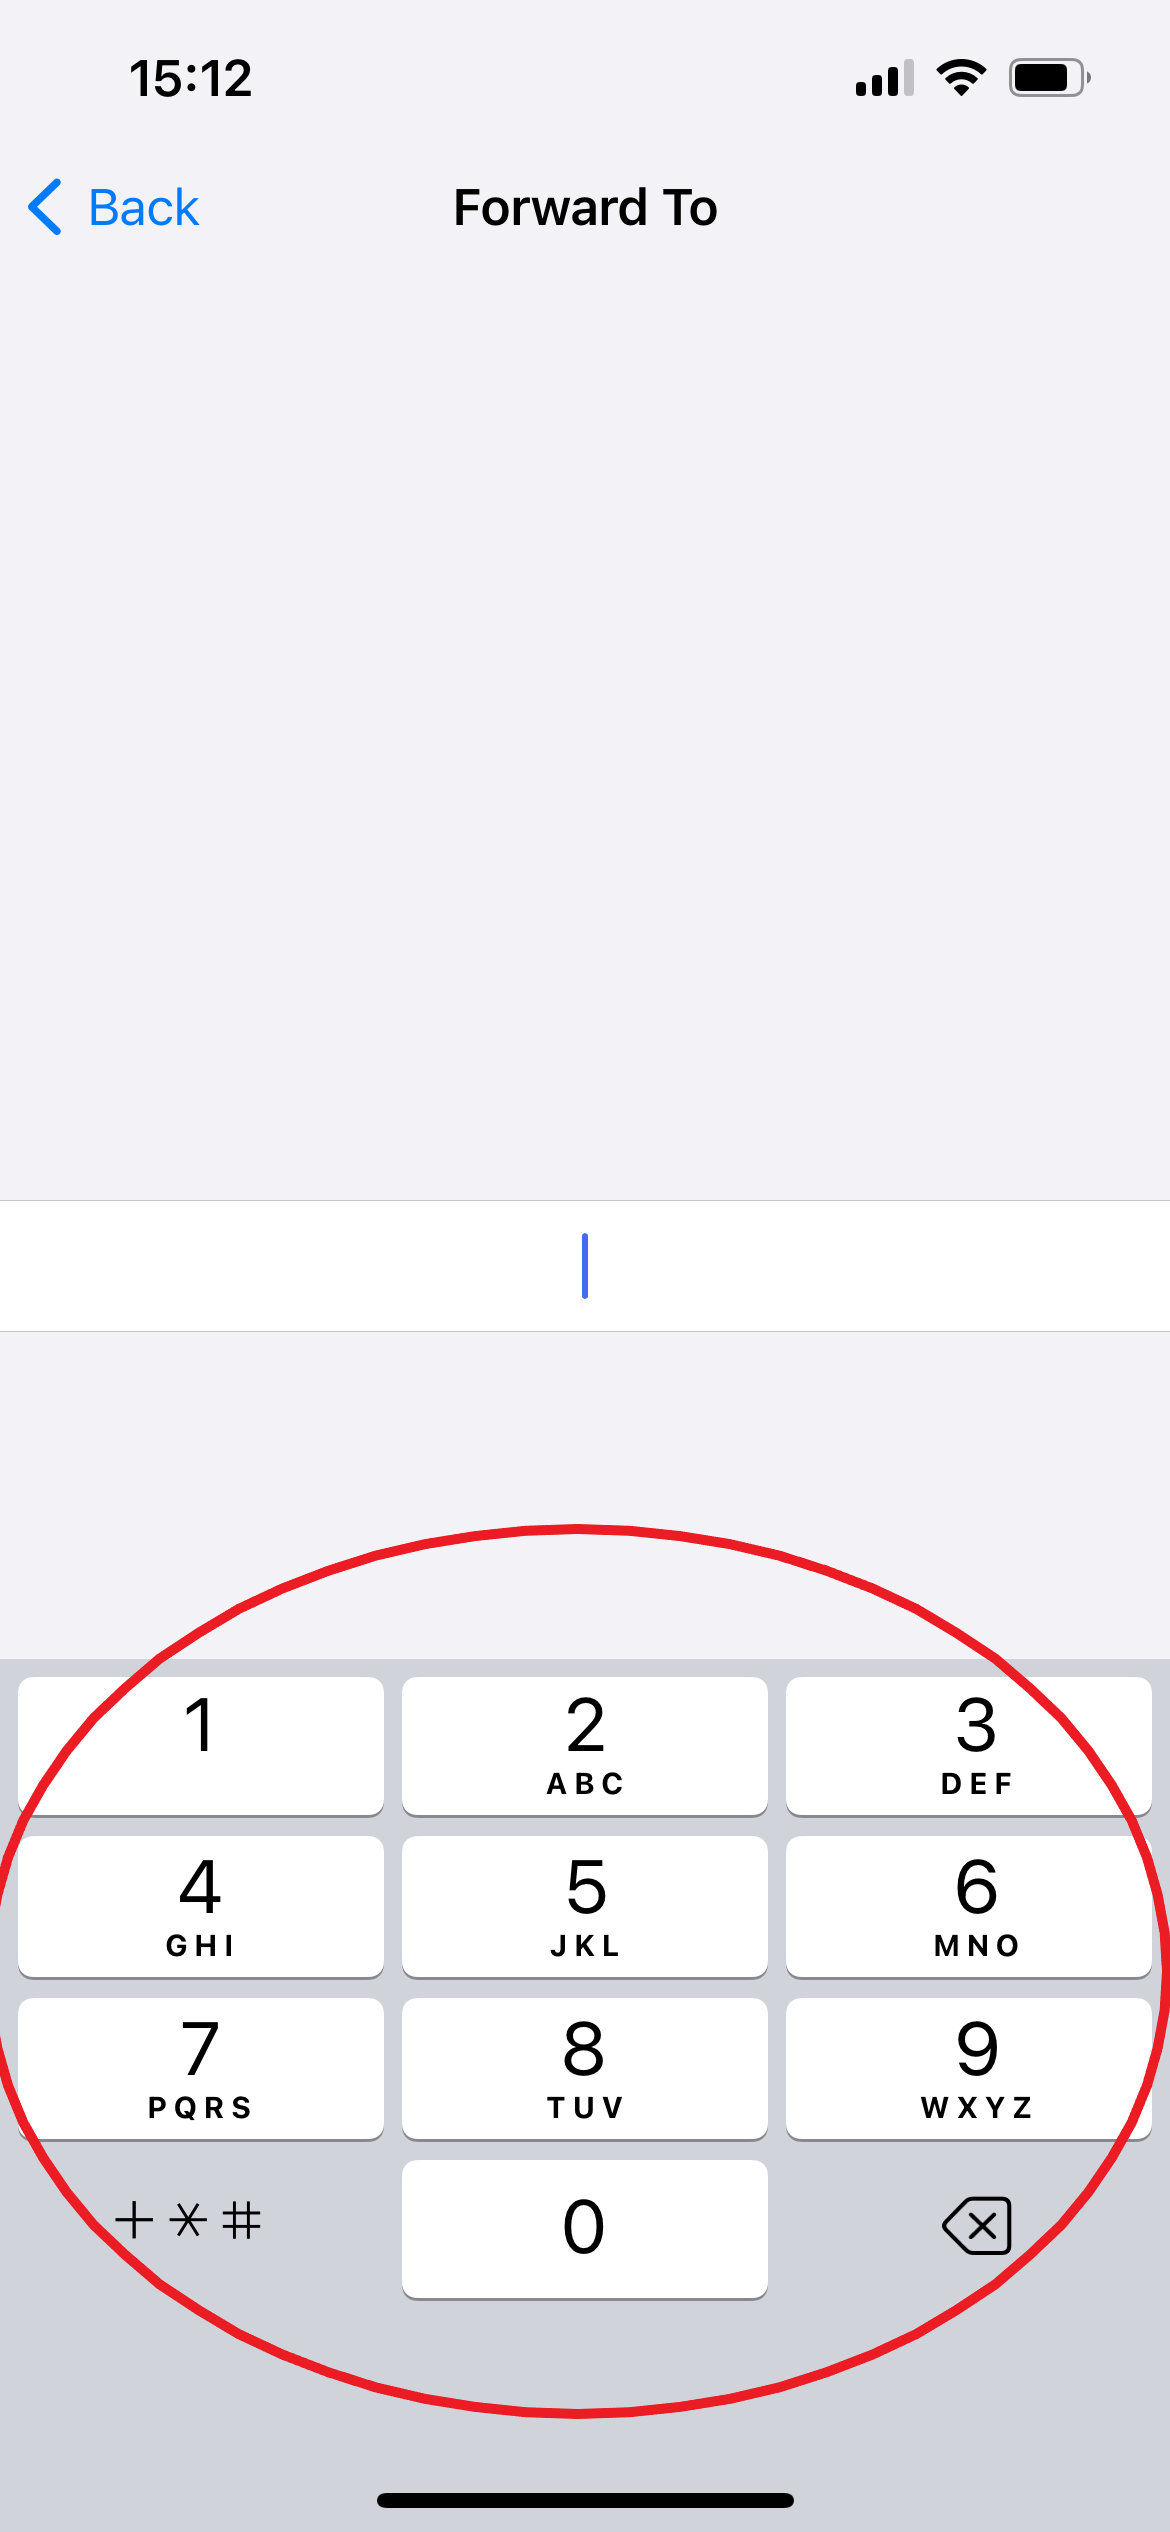
Then click Back to confirm.

Troubleshooting
To check if Call Forwarding is switched on, you can either follow the steps above and make sure the setting is toggled on, or simply glance at your phone’s status bar. You should see an icon with a phone and an arrow when Call Forwarding is active.
To turn off Call Forwarding, simply follow steps 1-4 above and toggle Call Forwarding off. You’ll know its switched off because the button will be grey instead of green.

