

Working in SEO leads to interesting challenges that I’m sure you’ve all faced at one point.
You’re a master of flexibility and managing tedious tasks. I’ve recently found myself dealing with 100+ top-tier sites.
Working with global companies, it’s quite the puzzle to:
- Wrangle data for 100+ sites.
- Keep tabs on every site’s performance.
And, since some of these sites compete against each other on the first page of Google, it’s quite possible that Site 1’s traffic drops but Site 2 captures the loss.
Checking one site’s Google Search Console (GSC) is easy, but it’s intense with hundreds of sites at a global scale.
What Can You Do?
I devised a Google Sheets Apps Script that connects to GSC’s API to transform global reporting from an arduous task that can take days – or weeks – into one that takes a few minutes.
After creating the script, I can easily put in a date range and pull each site’s:
- Clicks and impressions.
- Keywords.
- Average rankings.
- Etc.
Since we manage hundreds of sites, it’s not uncommon for users to end up on one of our sites to make their purchase, as mentioned above.
In the grand scheme of things, the bigger picture is more important than an individual site’s performance.
What I’m going to show you is my 10-step process to create a script that pulls clicks and impressions and then compares it all year over year (YoY).
10-Step Process To Create A Google Sheets Apps Script For Reporting On Hundreds Of Sites
Step 1: Creating Your Google Sheets
Your first step is to create your original Google Sheets file. You can do this by following these steps:
- Go to Google Drive.
- Navigate to the folder where you want to place the files.
- Right-click on the background
- Select > Google Sheets > Blank Spreadsheet.
You’ll want to rename the file. I called mine “Global Search Console Reporting.”
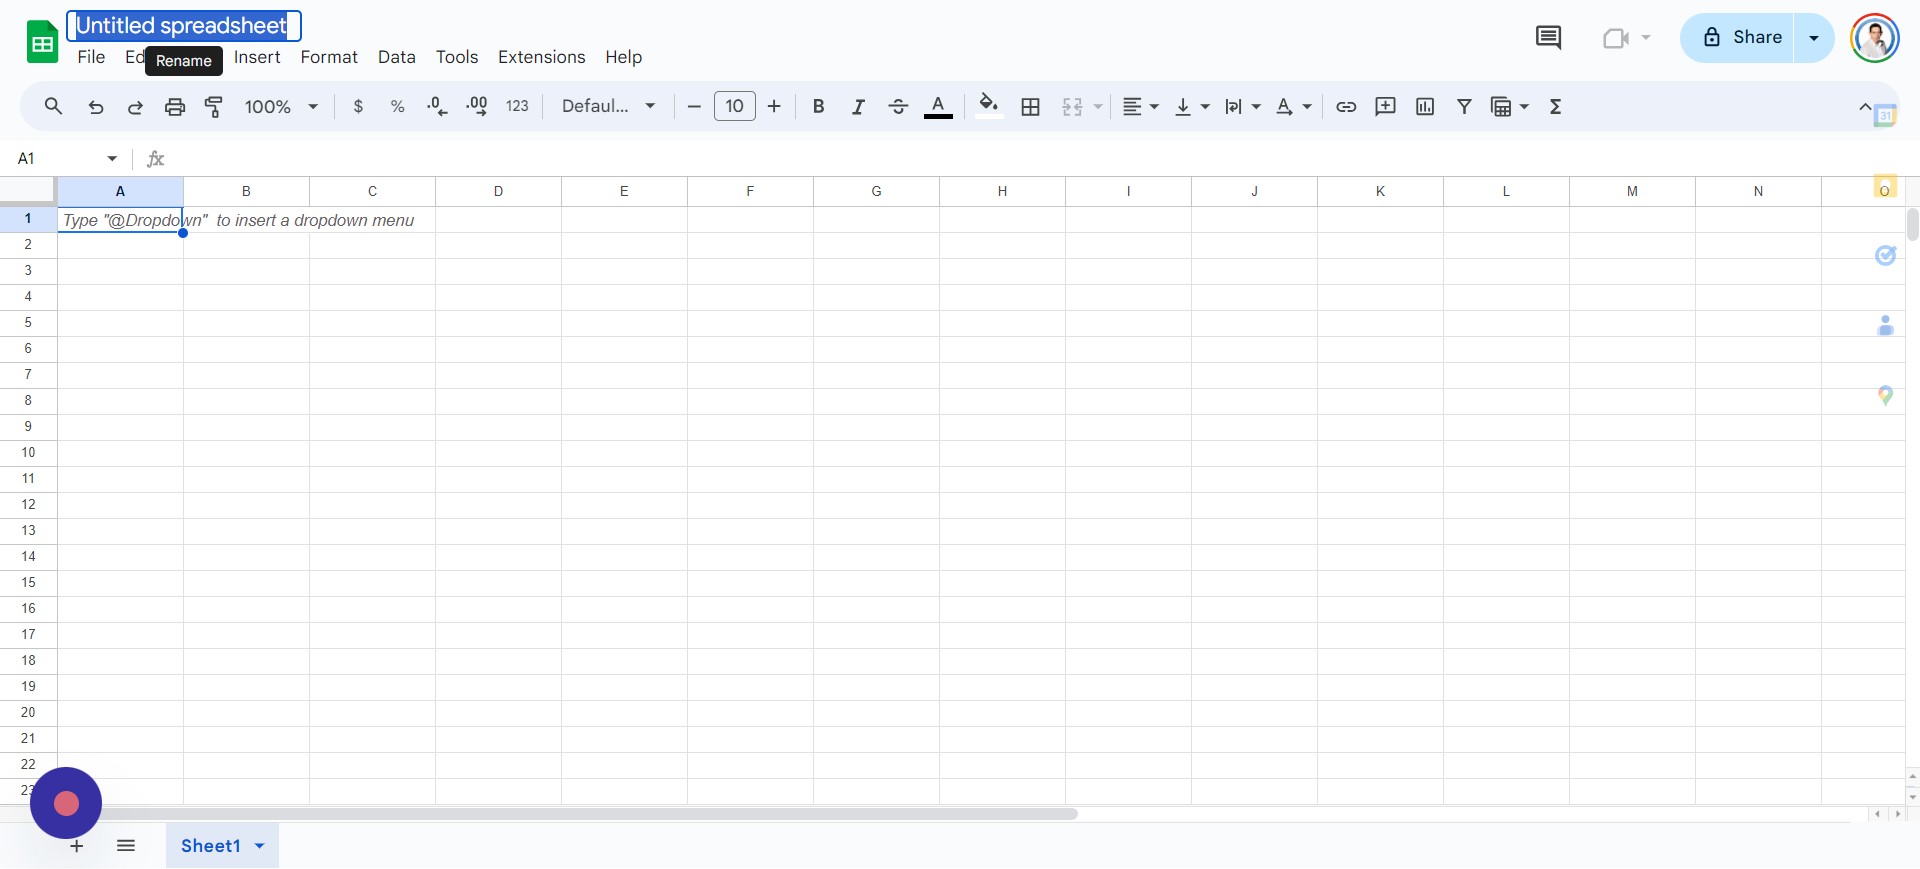 Screenshot from author, April 2024
Your file is now set up, and you’re ready for the next step.
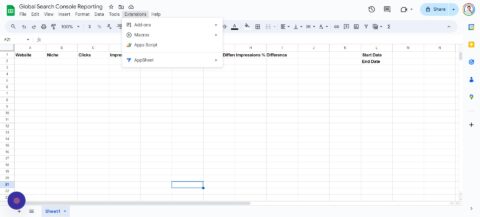
Step 2: Setting Up Your Google Sheet
A blank sheet isn’t useful and won’t make sense to users until you add some headers in Row 1. Headers that I recommend adding, in this order and bolding, are:
- Website.
- Niche.
- Clicks.
- Impressions.
- YoY Clicks.
- YoY Impressions.
- Clicks % Difference.
- Impressions % Difference.
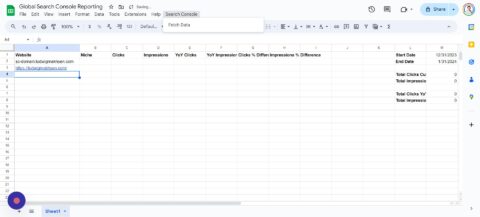
Your file should now look something like this:
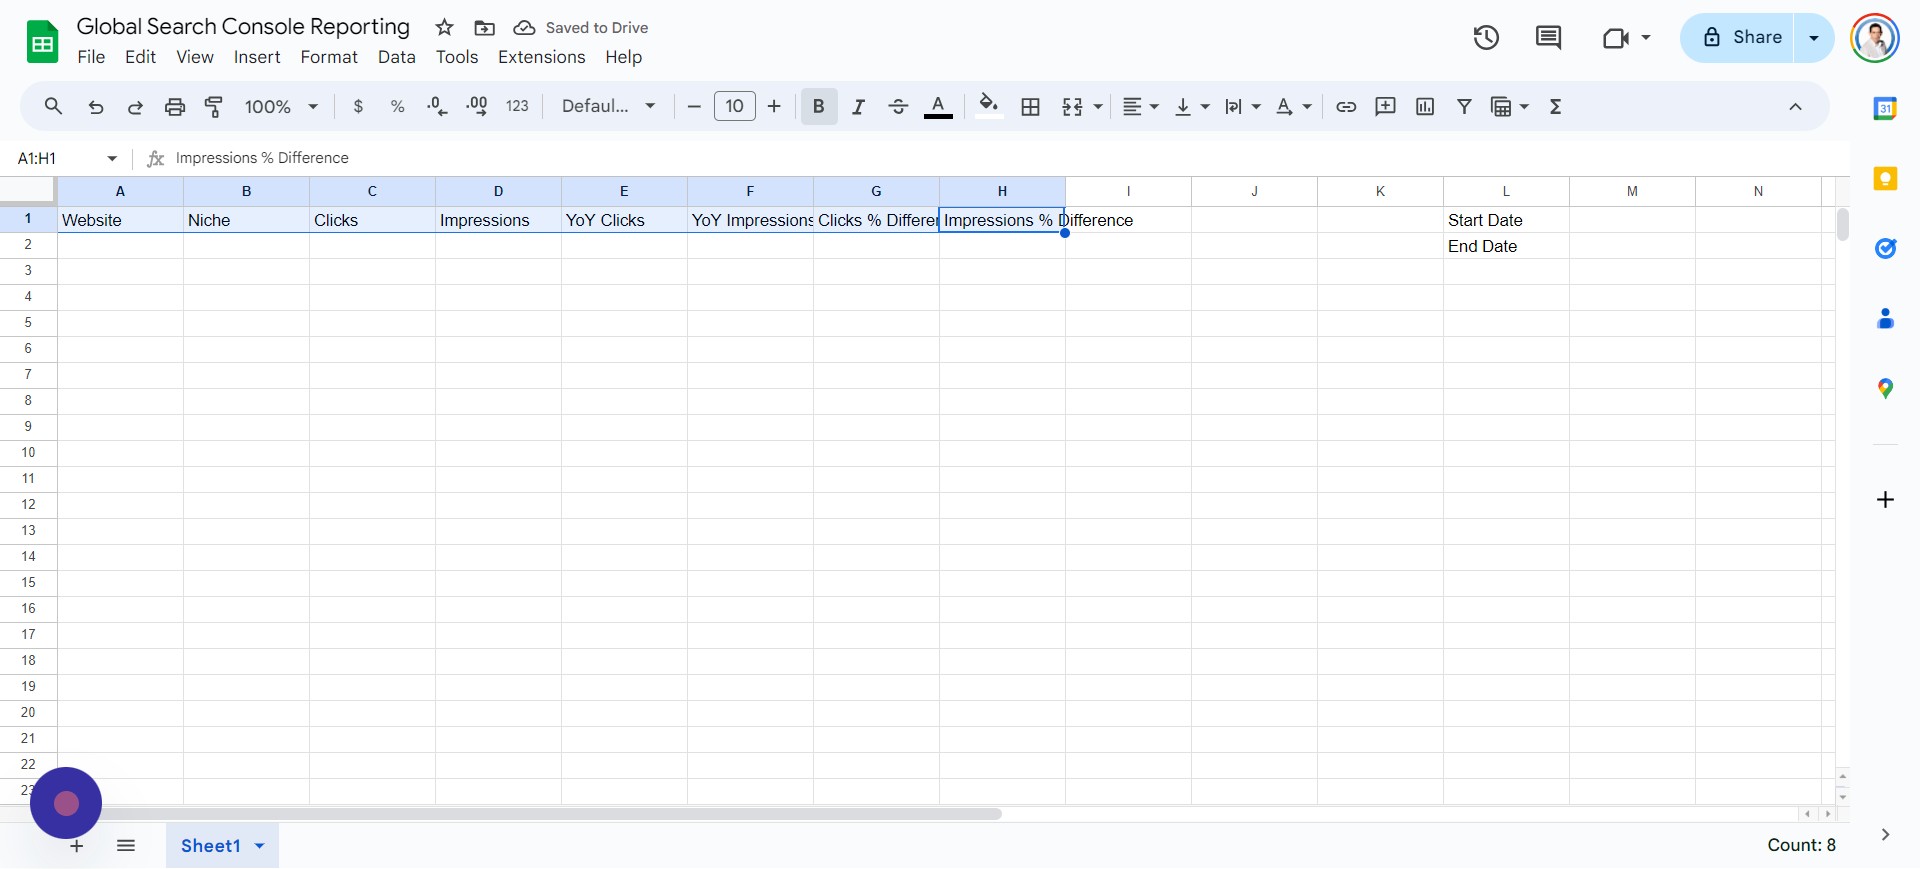 Screenshot from author, April 2024
Your next step is to create a Google Cloud Project, which is also fairly simple and straightforward.
Step 3: Create A Google Cloud Console Data Project
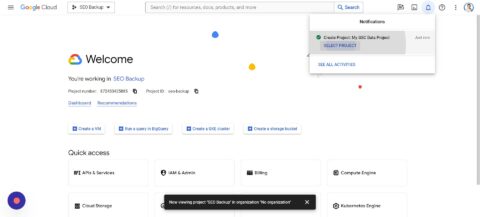
Creating your project should be free because Google provides a $300 credit to try out its platform. If you haven’t used Google Cloud, you can find it at https://console.cloud.google.com/.
You can now follow these steps:
- Tap Select Project > New Project.
- Enter Project Name (example: “My GSC Data Project”).
- Tap Create.
 Screenshot from author, April 2024
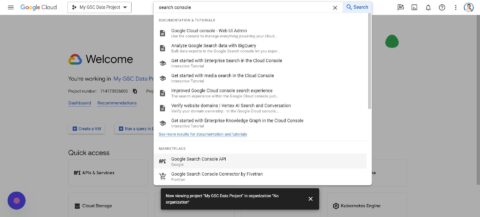
- Click Select Project.
- Select your Project.
- Click the top Search bar.
- Type “Google Search Console API.”
- Select “Google Search Console API.”
- Click Enable.
Step 4: Create Apps Scripts In Google Sheets
In this step, we will work on integrating the Apps Script into the Google Sheet that you created previously. You’ll need to open the Sheet and follow these steps:
- Tap Extensions > Apps Script.
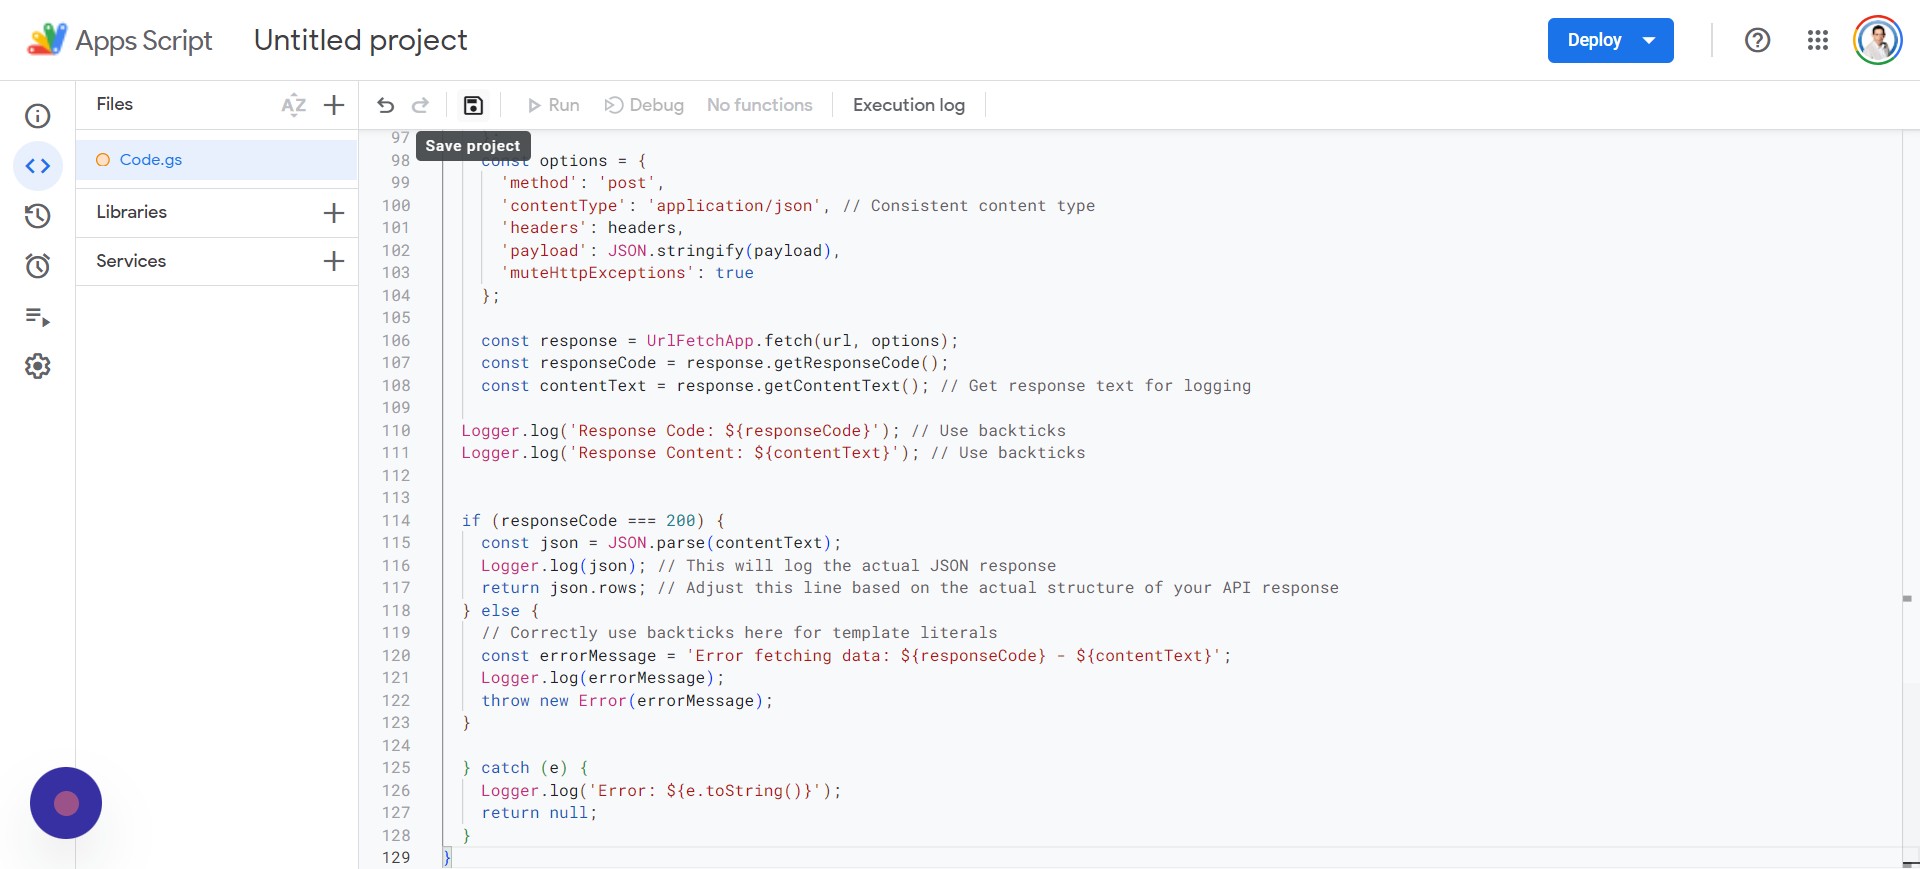
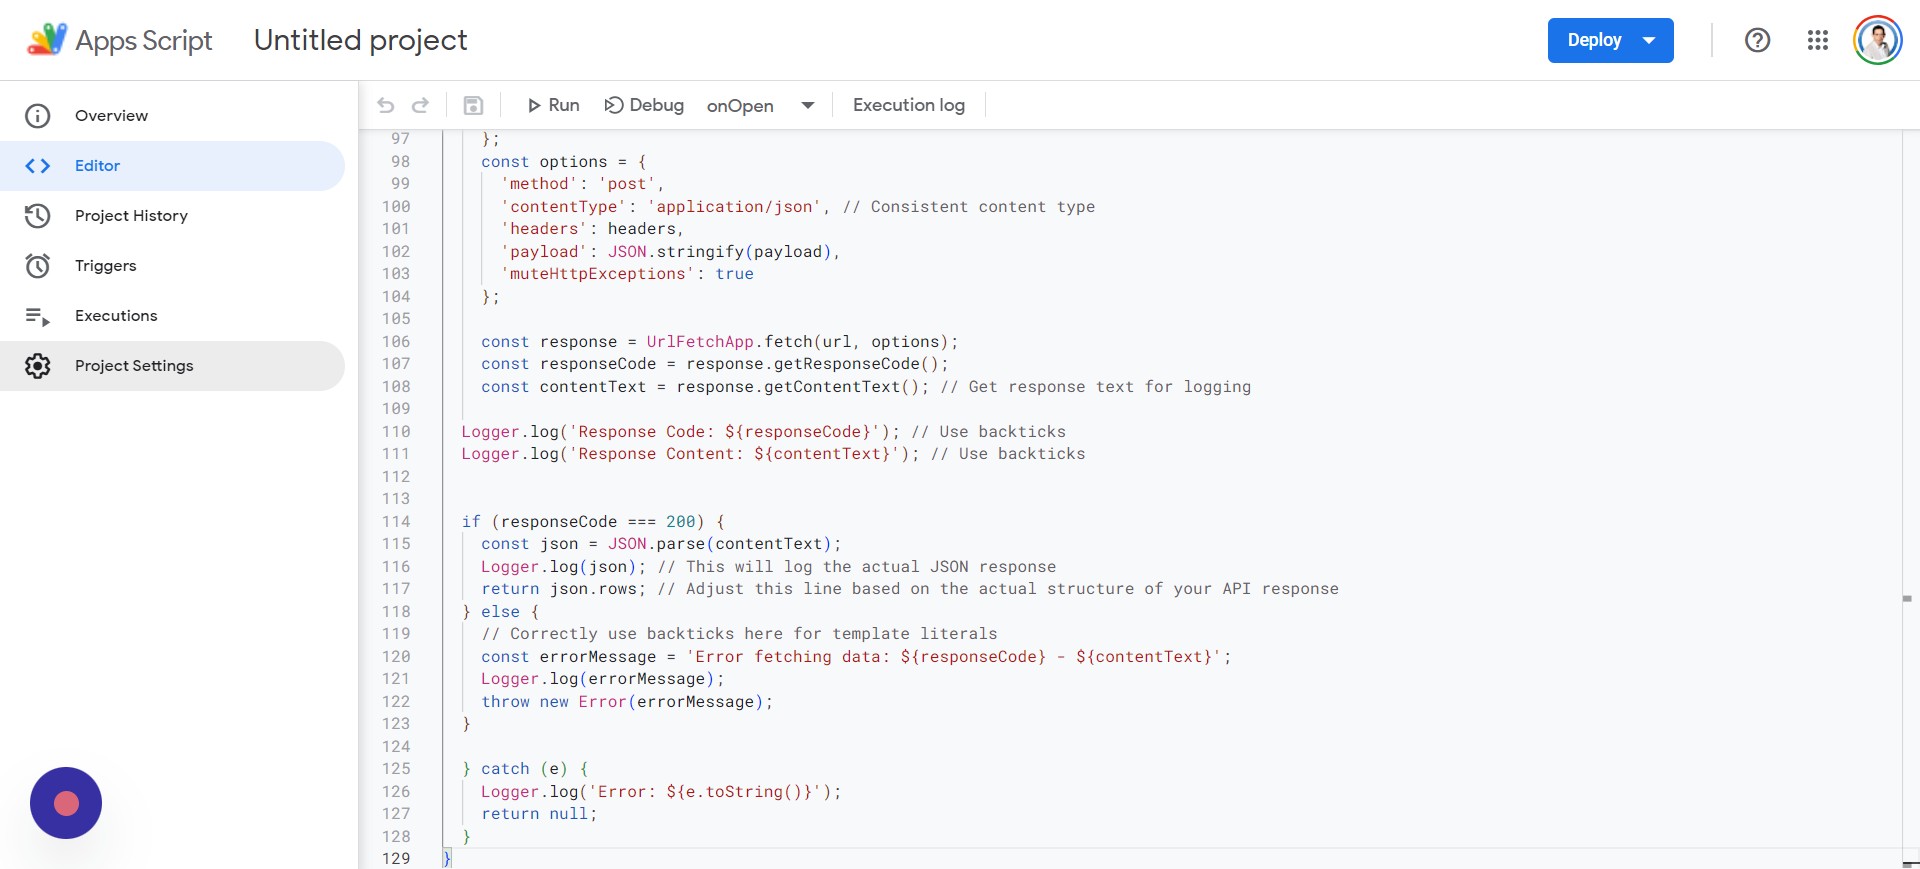
I’m not going to go into the details on how the script works, but you can copy this code:
function onOpen() {
  var ui = SpreadsheetApp.getUi();
  // Or DocumentApp or FormApp.
  ui.createMenu('Search Console')
    .addItem('Fetch Data', 'menuItem1')
    .addToUi();
}

function menuItem1() {
  var sheet = SpreadsheetApp.getActiveSpreadsheet().getActiveSheet();
  var lastRow = sheet.getLastRow(); // Find the last row with data in column A

  // Clear cells C2:F151 before processing data
  sheet.getRange("C2:F151").clearContent();

  for (var i = 2; i <= lastRow; i++) { var siteProperty = sheet.getRange(i, 1).getValue(); var startDateValue = sheet.getRange('M1').getValue(); var endDateValue = sheet.getRange('M2').getValue(); var timeZone = SpreadsheetApp.getActiveSpreadsheet().getSpreadsheetTimeZone(); var format = "yyyy-MM-dd"; // Calculate dates for last year var lastYearStartDate = new Date(startDateValue); lastYearStartDate.setFullYear(lastYearStartDate.getFullYear() - 1); var lastYearEndDate = new Date(endDateValue); lastYearEndDate.setFullYear(lastYearEndDate.getFullYear() - 1); var startDate = Utilities.formatDate(lastYearStartDate, timeZone, format); var endDate = Utilities.formatDate(lastYearEndDate, timeZone, format); // Fetch data for the previous year var previousYearResponse = requestSearchConsoleAPI(siteProperty, startDate, endDate); // Fetch data for the current year (unchanged) startDate = Utilities.formatDate(new Date(startDateValue), timeZone, format); endDate = Utilities.formatDate(new Date(endDateValue), timeZone, format); var currentYearResponse = requestSearchConsoleAPI(siteProperty, startDate, endDate); // Process and write data for both years processAndWriteData(sheet, i, previousYearResponse, currentYearResponse); } } function processAndWriteData(sheet, row, previousYearResponse, currentYearResponse) { // Check if response is not defined or null and has at least one row if (previousYearResponse && previousYearResponse.length > 0) {
    var previousYearClicks = 0;
    var previousYearImpressions = 0;

    previousYearResponse.forEach(function(row) {
      previousYearClicks += row.clicks;
      previousYearImpressions += row.impressions;
    });

    sheet.getRange(row, 5).setValue(previousYearClicks); // Write to column D (index 5)
    sheet.getRange(row, 6).setValue(previousYearImpressions); // Write to column E (index 6)
  } else {
    Logger.log('No data found for previous year in row: ' + row);
  }

// Process and write data for the current year
  if (currentYearResponse && currentYearResponse.length > 0) {
    var currentYearClicks = 0;
    var currentYearImpressions = 0;

    currentYearResponse.forEach(function(row) {
      currentYearClicks += row.clicks;
      currentYearImpressions += row.impressions;
    });

    sheet.getRange(row, 3).setValue(currentYearClicks); // Write to column C (index 3)
    sheet.getRange(row, 4).setValue(currentYearImpressions); // Write to column D (index 4)
  } else {
    Logger.log('No data found for current year in row: ' + row);
  }
}


function requestSearchConsoleAPI(siteProperty, startDate, endDate) {

  try {
    const oauthToken = ScriptApp.getOAuthToken(); // Correctly call the method
    const siteUrl = siteProperty;
    const url="https://www.googleapis.com/webmasters/v3/sites/" + encodeURIComponent(siteUrl) + '/searchAnalytics/query';
    const payload = {
      startDate: startDate,
      endDate: endDate,
      type: 'web'
    };

    const headers = {
      'Authorization': 'Bearer ' + oauthToken,
      'Content-Type': 'application/json'
    };
    const options = {
      'method': 'post',
      'contentType': 'application/json', // Consistent content type
      'headers': headers,
      'payload': JSON.stringify(payload),
      'muteHttpExceptions': true
    };

    const response = UrlFetchApp.fetch(url, options);
    const responseCode = response.getResponseCode();
    const contentText = response.getContentText(); // Get response text for logging

  Logger.log('Response Code: ${responseCode}'); // Use backticks
  Logger.log('Response Content: ${contentText}'); // Use backticks


  if (responseCode === 200) {
    const json = JSON.parse(contentText);
    Logger.log(json); // This will log the actual JSON response
    return json.rows; // Adjust this line based on the actual structure of your API response
  } else {
    // Correctly use backticks here for template literals
    const errorMessage="Error fetching data: ${responseCode} - ${contentText}";
    Logger.log(errorMessage);
    throw new Error(errorMessage);
  }

  } catch (e) {
    Logger.log('Error: ${e.toString()}');
    return null;
  }
}
And then go back to your Apps Script project and do the following:
- Press CTRL + A to select all.
- Press CTRL + V to paste in the code you copied.
- Tap OK.
- Click Save project.
- Tap Run.
*Note: If you are receiving a Bad Request error from Google with too many redirects, this is because you have multiple accounts logged in. Try in a browser with only one Google account logged in.
 Screenshot from author, April 2024
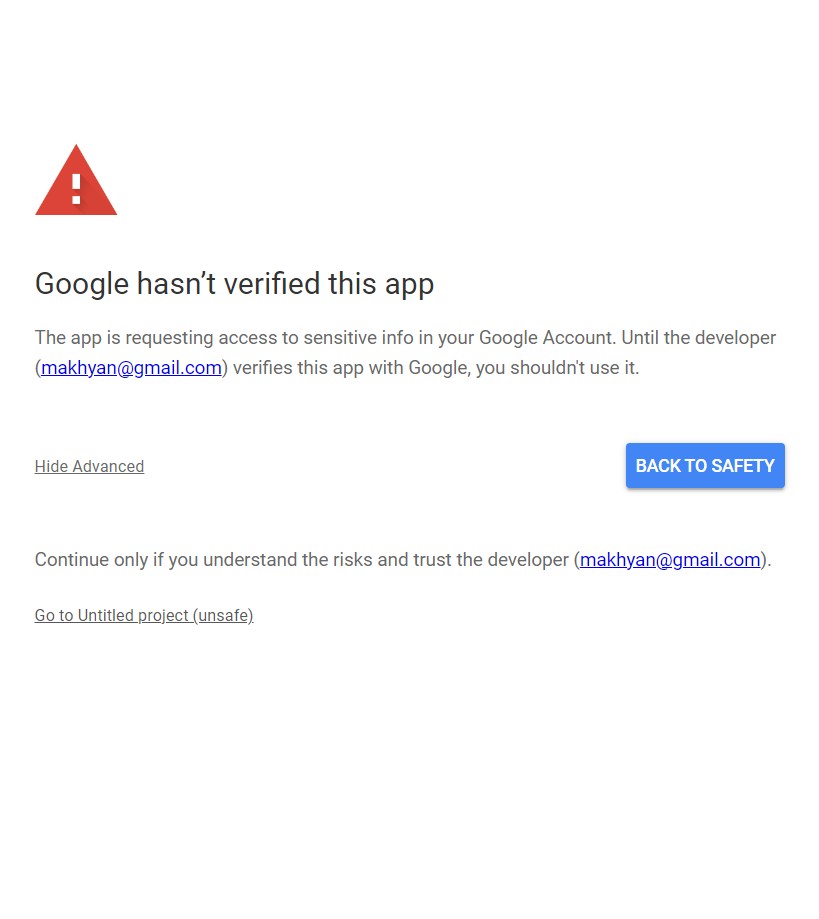
You’ll be requested to Review permissions and will need to select the Google Account associated with your Google Search Console.
Google will give you a warning because the app isn’t verified, so simply tap on the “Advanced” setting and then “Go to Untitled project (unsafe).”
 Screenshot from author, April 2024
Finally, you can complete this step by tapping or clicking on the Allow button.
Step 5: Set Up The Access Credentials
I know there’s a lot of back-and-forth going on between Sheets and Google Cloud Console, but it’s an unfortunate necessity at this point. Now, we will be setting up Access Credentials, which will require you to go back to the Google Cloud Console.
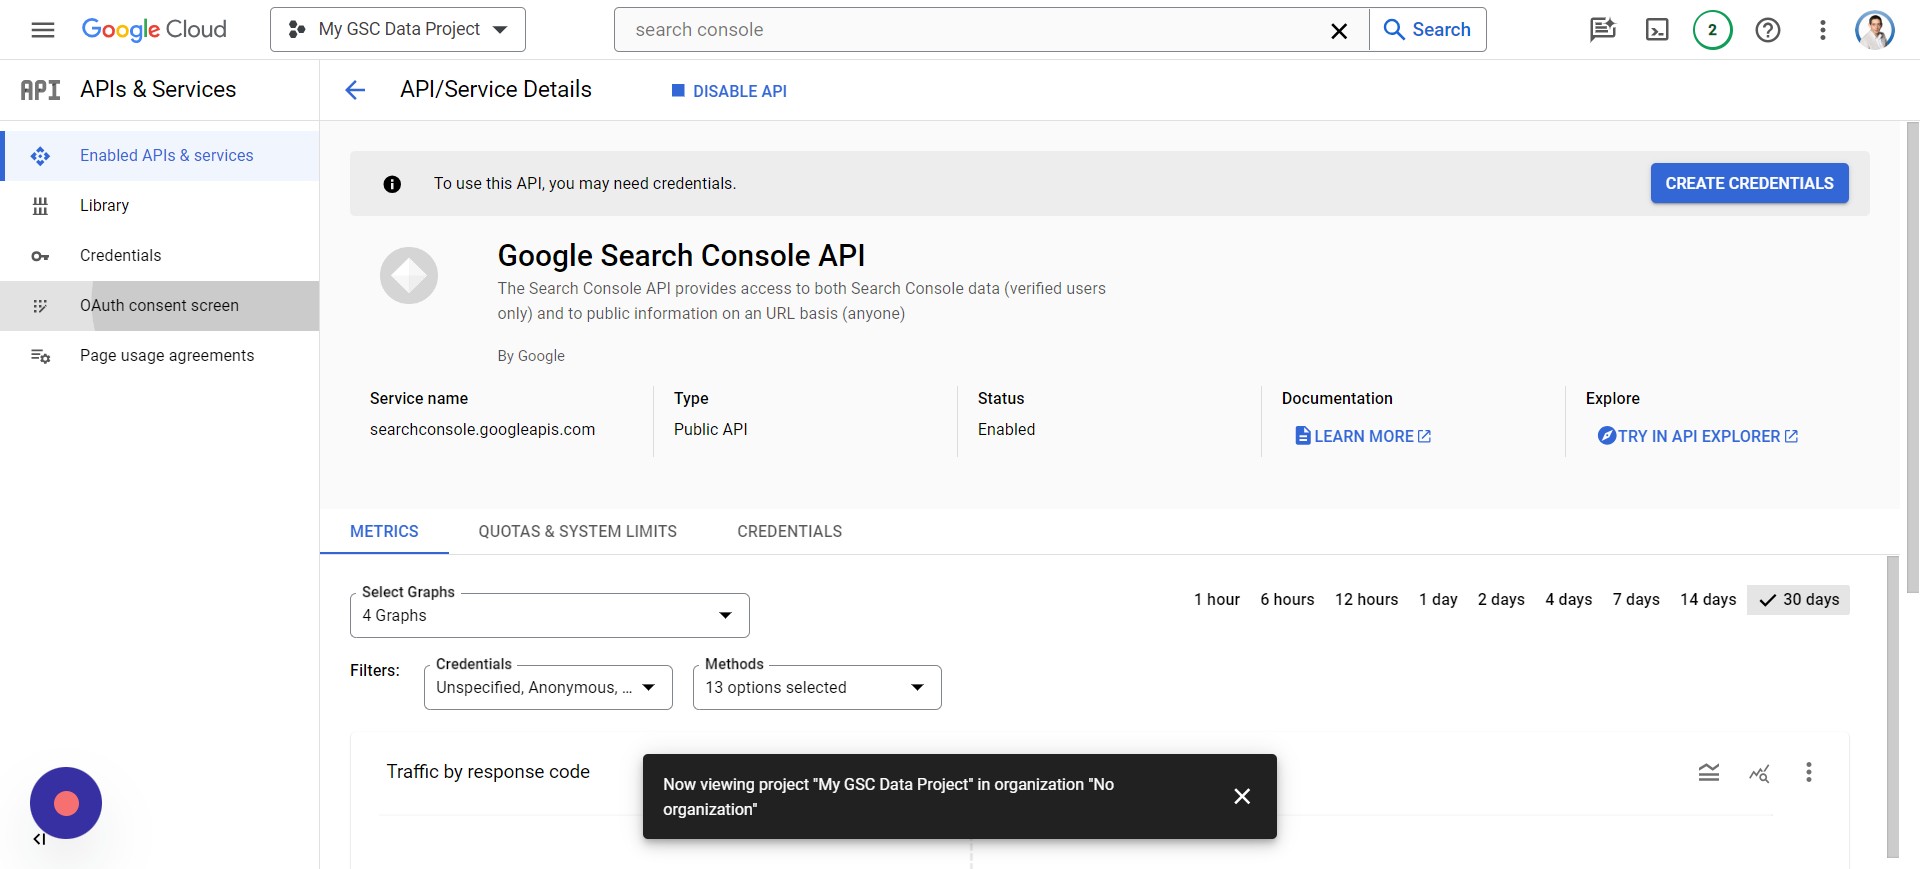
Note: You must have enabled the Google Search Console API from the previous step.
Your screen should look something like this:
 Screenshot from author, April 2024
You’ll need to:
- Tap Credentials > Create Credentials.
- Tap OAuth client ID > Configure Consent Screen.
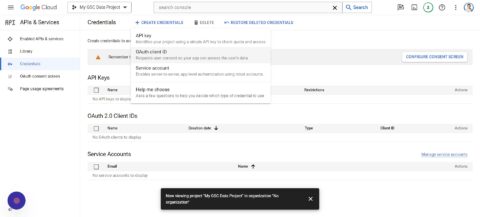
- Click External.
- Tap Create.
- Enter “My GSC Data” as the App name.
- Add your Support email (your email used for GSC).
- Add your Developer contact information (the email you used for GSC).
- Tap Save and continue.
- Tap ADD OR REMOVE SCOPES.
- Check 2 of the Google Search Console API scopes (might be on page 2).
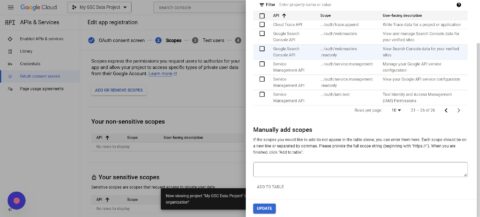
- Click Update.
- Click Save and Continue.
- Now click Add Users.
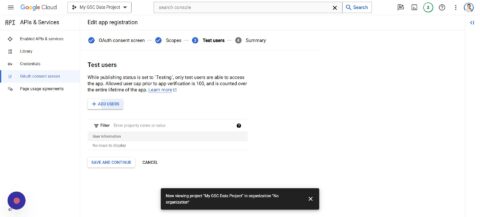
- You can add multiple users, preferably those that have access to GSC.
- Save and Continue.
Step 6: Set Up Google Cloud Project For GSC Data
While we’re still on the Google Cloud Project, you’ll want to click the hamburger icon and go to Cloud overview > Dashboard:
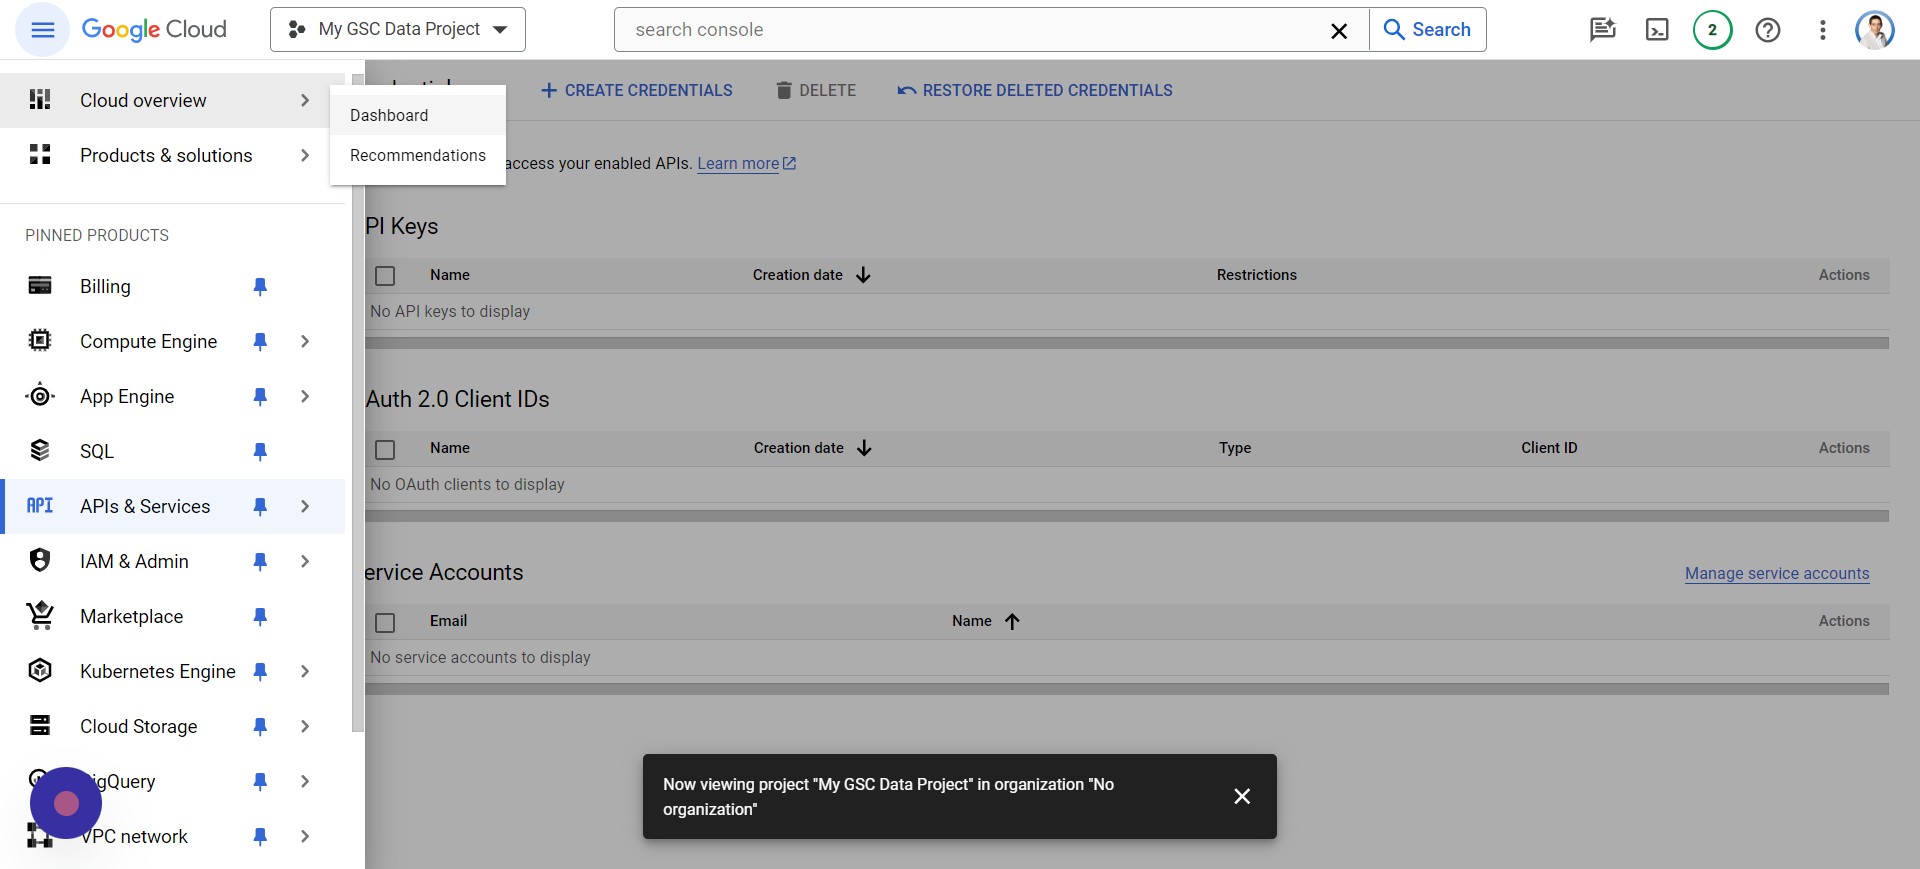 Screenshot from author, April 2024
You’ll notice that it says “Project number,” which you should select and Copy by pressing CTRL + C.
Switch back to your Apps Script tab and tap Project Settings:
 Screenshot from author, April 2024
Go to the section titled Google Cloud Platform (GCP) Project, paste the project number (CTRL + V) into the text box, and click Set project.
Step 7: Rename Your Google Apps Script
You’ll now want to rename your Apps Script by going to Project History like this:
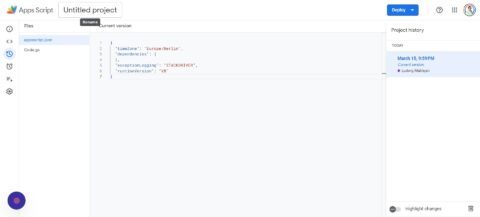
You’ll then:
- Click Untitled project at the top of the screen.
- Enter “My GSC Data Project Script.”
- Click on Rename.
Step 8: Edit Google Apps Manifest File For Code.gs Script
You’re still staying inside of your script, and we’re going to go back to Project Settings just as we did before.
This time, you’ll want to click Show “appsscript.json” manifest file in editor to make sure there’s a checkmark next to it.
Next, click on Editor and navigate to the appsscript.json, which you can see below:
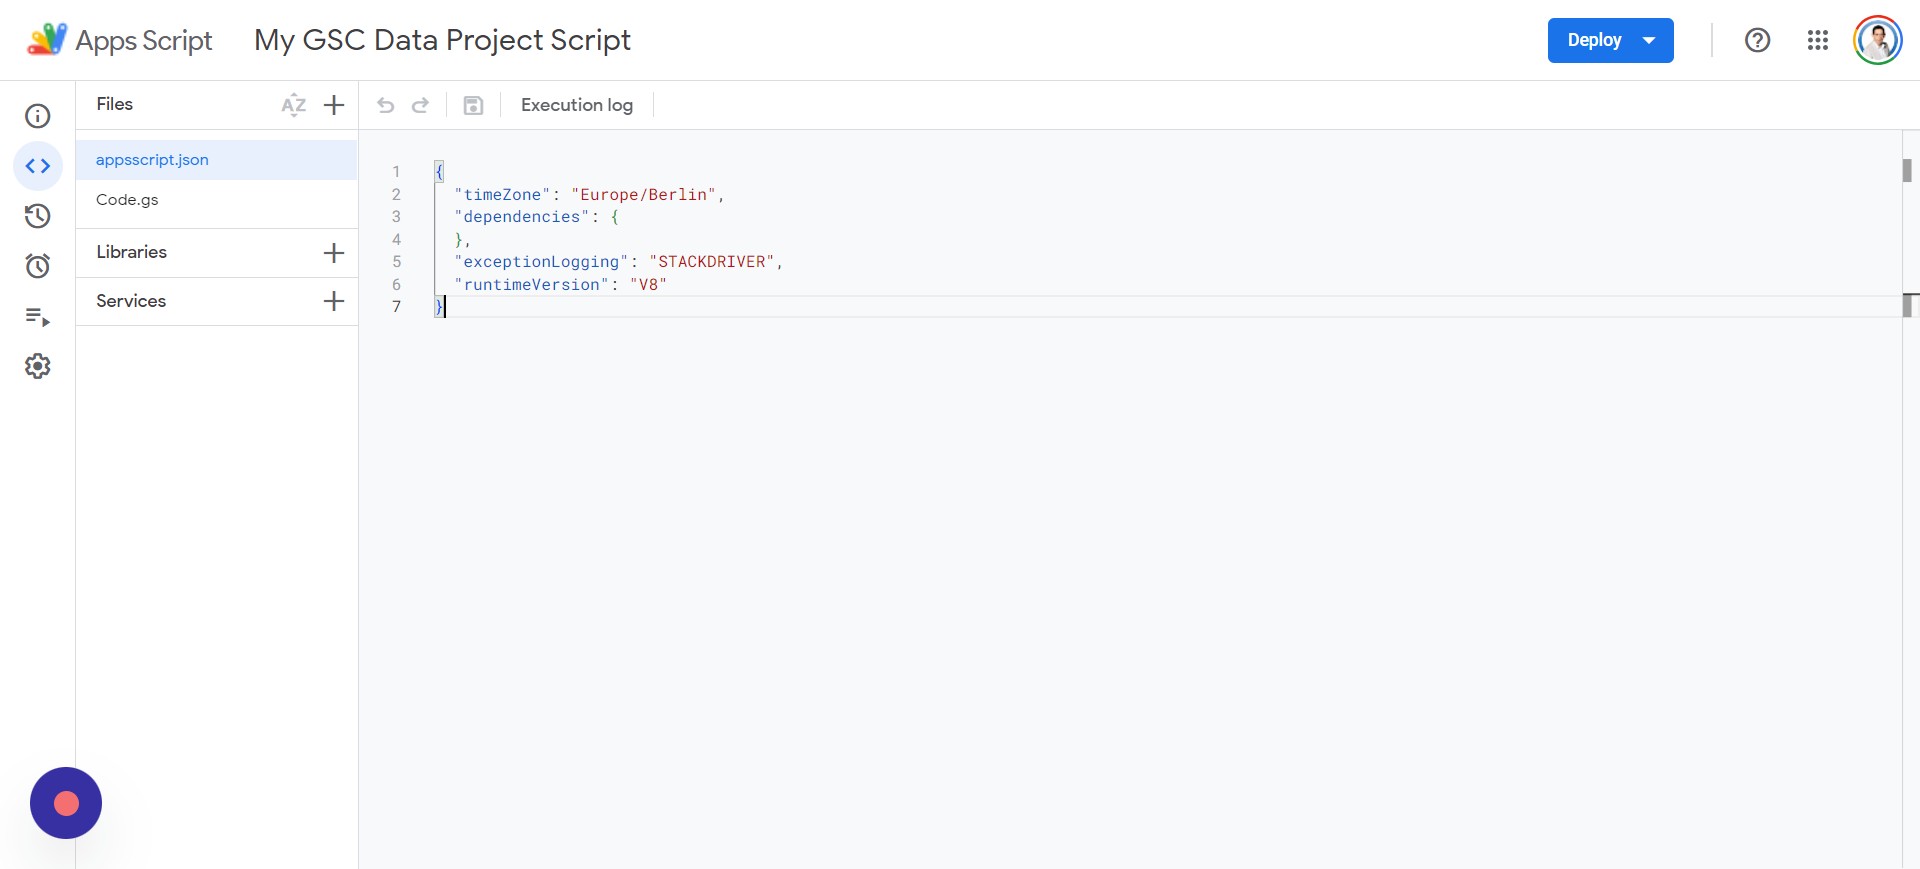 Screenshot from author, April 2024
You’ll want to delete everything in the appsscript.json file and paste in the following script:
{
  "timeZone": "America/New_York",
  "dependencies": {
  },
  "exceptionLogging": "STACKDRIVER",
  "oauthScopes": [
    "https://www.googleapis.com/auth/webmasters",
    "https://www.googleapis.com/auth/script.external_request",
    "https://www.googleapis.com/auth/spreadsheets",
    "https://www.googleapis.com/auth/spreadsheets.currentonly"
  ]
}
Once you’ve added the code, you can click on your Code.gs file and tap Save, and then Run. You’ll be prompted to review permissions, and you’ll need to select your appropriate account to continue using.
After a few prompts, you’ll be asked to allow your app “My GSC Data,” and execution will begin.
Step 9: Adjust The Dates For Website Data Analysis
In the Google Sheets file, you’ll want to add the following under:
- L1: Start Date.
- L2: End Date.
Note: The start and end dates should be specified in M1 and M2. For example, you can input:
Note: The date format may differ based on your system settings and location.
Step 10: Set Conditional Formatting For Non-Empty Cells Less Than Zero
Everything is set up, but you should add some conditional formatting to make it look better. We’re going to focus on the “Clicks % Difference” and “Impressions % Difference” columns:
 Screenshot from author, April 2024
Select the rows under the headers “Clicks % Difference” and “Impressions % Difference” and click on Format > Conditional formatting. Under Format rules, you’ll want to select Less than.
In the “Value or formula” text area, you can add 0.
What this does is that if it’s less than 0, we’ll be changing the color to red since it’s in the negative and traffic has been lost. You can do this by clicking on the paint can and changing it to red before clicking done.
If you want to change a positive increase in traffic to green, you’ll add another rule for Greater than and add the 0 value.
Here are the formulas to use in G2 and H2 (you can replicate them for each row; just click and drag down for the other rows):
=IFERROR(IF(AND(C2<>"",E2<>""), (C2-E2)/E2, ""),"")=IFERROR(IF(AND(D2<>"",F2<>""), (D2-F2)/F2, ""),"")Now, you have an easy way to run reports on multiple sites at once.
That’s It, You Have Your Global Report
In column A, input your Google Search Console properties; if it is a domain property, add it as sc-domain:example.com or a URL property as https://example.com
To run or refresh the report, use the special menu Search Console > Fetch Data:
*Note: This script supports about 150 domains, but if you need more, you can adjust the row #14 in your AppScripts file:
sheet.getRange("C2:F151").clearContent();
Using this very tutorial, you’ll have an easy time turning days of gathering data and running reports into a few minutes. You can even expand the scripts to perform other calculations or gather more data for your report.
Check out my other tutorial on Integrating ChatGPT With Google Sheets.
Automating your reports is a great way to streamline tedious tasks, and I hope it makes your job a little easier.
More resources:
Featured Image: 200dgr /Shutterstock