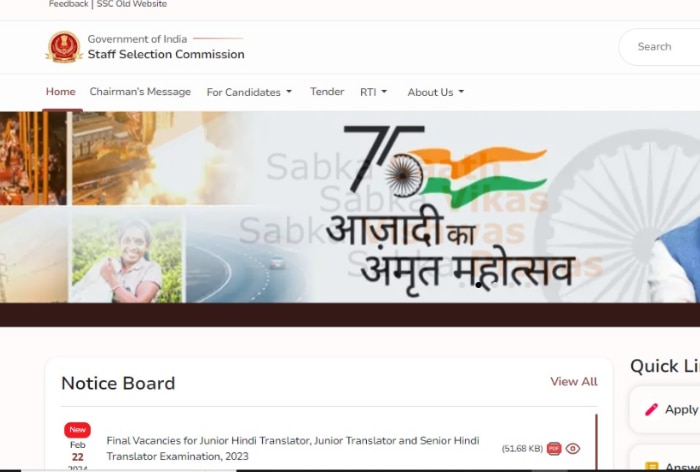
The Staff Selection Commission(SSC) has launched a new website -ssc.gov.in – the link for which is active from February 17, 2024.
The Staff Selection Commission(SSC) has released an important notice stating that the Commission has launched a new website. As per the official notice, the new website is active from February 17, 2024. However, the existing website will also continue to be accessible through a link on the new website.
SSC has urged the candidates to do fresh One Time Registration (OTR) on the new website of the Commission at ssc.gov.in. “All candidates are advised to do fresh One Time Registration (OTR) on the new website of the Commission, i.e., https://ssc.gov.in/, as OTR previously done on earlier version of Commission’s website, i.e., https://ssc.nic.in/, stands null & void,” reads the official statement. One can check the official notice at ssc.nic.in.
How to Register For One Time SSC One Time Registration (OTR)?
- STEP 1: Visit https://ssc.gov.in/.
- STEP 2: After clicking on Login and Register, a small window will appear. In that window, click ‘Register Now’
at the bottom. You’ll then be taken to the ‘One-Time Registration’ page. - STEP 3: On the homepage, candidates can find steps to fill in the ‘One-Time Registration’ form. Click ‘Continue’ to proceed and reach the personal details screen.
- STEP 4: Enter critical details like Aadhaar Number, name, father’s name, mother’s name, and date of birth twice to ensure accuracy. Any discrepancies will be highlighted in red text.
- STEP 5: After successful verification of mobile and email OTP, clicking the ‘Save & Next’ button will store the
provided ‘Personal Details’ (S No-1 to 14). Users will be redirected to the registration details page,
displaying the Registration Number. The Registration Number and Password will be sent to the user’s
mobile number and Email ID. The registration process must be completed within 14 days; otherwise, the
saved details will be deleted. - STEP 6: To finalize the remaining registration, users can click ‘Continue,’ leading them to the login page displayed in the following screen. If users choose to complete the registration on a subsequent day, they can log in by clicking the ‘Login or Register’ button on the website header. The Registration Number serves as the username, and the auto-generated password sent to the user’s mobile, and email is used for the initial login. Upon the first login, users will be prompted to change their password.
- STEP 7: For the initial login, users will be directed to the password creation page. After successfully changing the password, they will be redirected to the login page, where they must log in again using their Registration Number and the newly changed password. The registration number will be prefilled initially. To proceed with the password change, users need to input the old password sent via mobile number and email. They can then set a new password, adhering to the specified validation displayed on the screen.
- STEP 8: Upon successful password change, users will encounter the following screen. After logging in, users will be redirected to the additional details page.
- STEP 9: To complete additional details, users must provide information about their Category (S No-1), Nationality (S No-2), and, if the nationality is other than ‘Citizen of India,’ enable ‘Contact Details for Other Nationals.’ Users need to fill permanent and present address details if the nationality is ‘Citizen of India,’ or disable these fields if the nationality is different. Additionally, users should provide information about visible
Identification Mark (S No-4) and benchmark disabilities (S No-5), along with Disability Certification
Number if applicable. If the nationality is ”, users should fill Permanent and Present Address details, saving
the data to proceed to the last part of the registration process. - STEP 10: After carefully reading the declaration, users should check “Preview OTR” ‘I agree,’ then click on ‘Declare’ to submit the declaration. Upon successful submission, users will be redirected to the dashboard.
All applications for future examinations are required to be submitted online through the new website – ssc.gov.in.